Databases and Keys
- 06 Apr 2022
- 3 Minutes to read
- Contributors

- Print
- DarkLight
- Download PDF
Databases and Keys
- Updated on 06 Apr 2022
- 3 Minutes to read
- Contributors
- Print
- DarkLight
- Download PDF
Article summary
Did you find this summary helpful?
Thank you for your feedback!
Overview
Cerebrata makes managing the Redis Cache databases and keys extremely easy. From managing databases to keys (string, hash, list, set, and sorted set), Cerebrata provides the most comprehensive set of features.
Armed with features like purging database, hierarchical viewing of keys, setting TTL and more, you don't have to look beyond Cerebrata for managing your Redis cache assets.
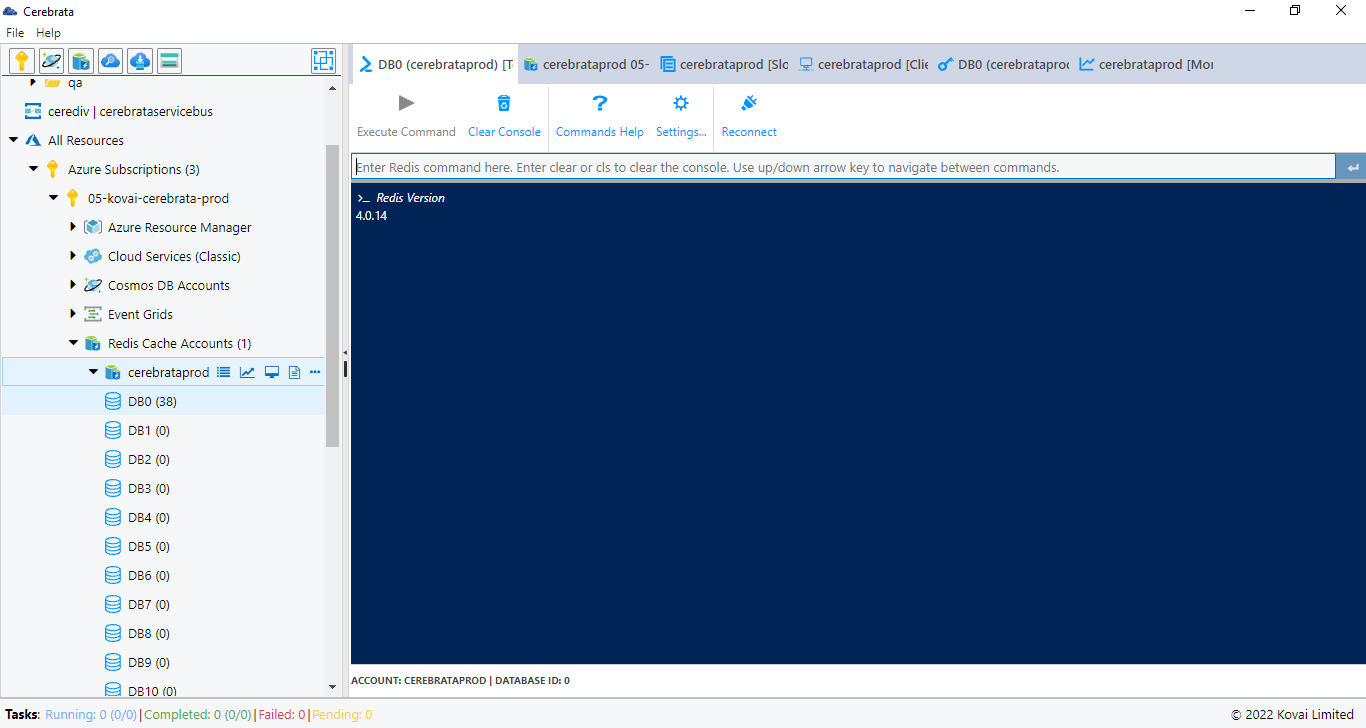
Open Redis Cache Terminal
Cerebrata includes a basic Redis Cache terminal with which the user can execute Redis commands (like KEYS, GET, SET etc.) against a database in the Redis Cache account. User can even change the background colour, text colour and text size of the terminal using Terminal Settings.
Following are the steps to open Redis Cache Terminal:
- Select the context menu of the appropriate Redis Cache, Select the required Database and click Open Terminal in the Context menu
- It will open a window with the Redis Cache Terminal
Not all Redis commands are supported in Azure Redis Cache because it is a managed service, and some of the commands (that won't work) deal with the underlying infrastructure.
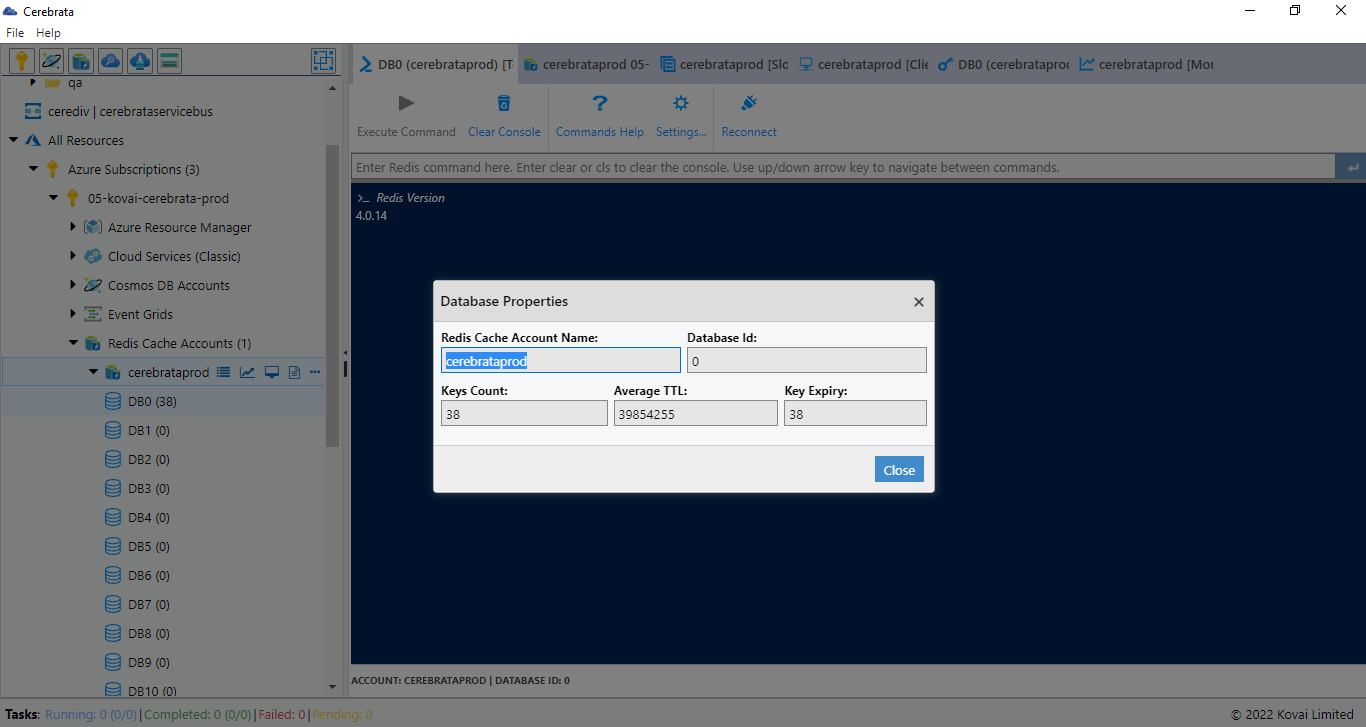
View Properties
Cerebrata provides the capability to view properties of a database in the Redis cache account. It is also possible to view general properties like keys count, average TTL etc. To view properties, Select View Properties in the required Database to see the Redis Cache Properties.
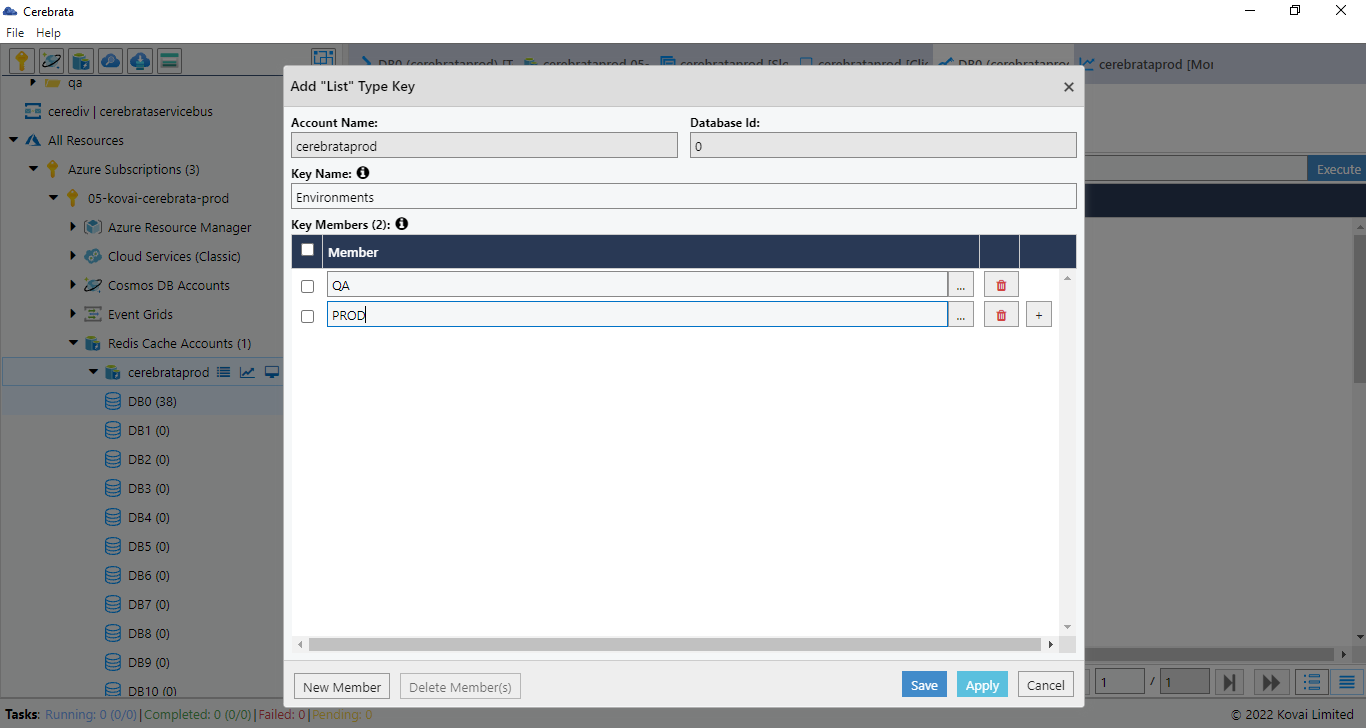
New Key
Consider if the need is to add a couple of Keys to Redis Cache for Testing purpose; Cerebrata enables users to add keys to a database in the Redis cache account. User can Keys of type - String, Hash, List, Set, and Sorted Set.
Following are the Steps to add Keys in Redis Cache Database:
- Open the required Redis Cache Database
- Click New Key and Select the required type of Key to be added
- Provide the Key and Values as required.
- Hit Save to add Key to the selected Database
Search Key
Cerebrata provides extensive functionality when it comes to search for keys in a database. It supports both partial and wildcard key searches.
Following are the steps to search keys using Scan or Keys Command:
- Open the required Redis Cache database
- Choose the search command either as Scan or Keys based on the requirement, but * in the search box to retrieve all the keys available
To know more about Scan or Keys Commands.
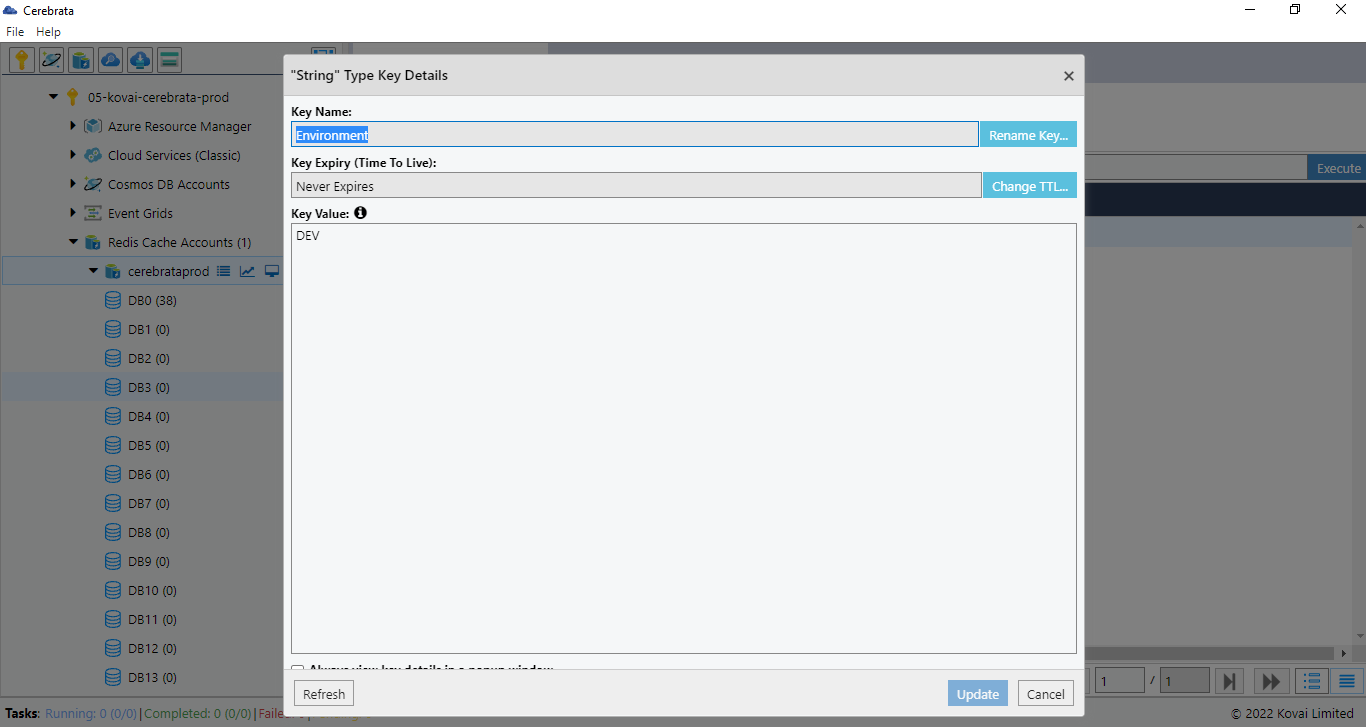
Edit Key
Consider when the need is to change the key value in a Redis Cache Database; Cerebrata enables users to edit a key's value in a database in the Redis cache account. Depending on the type of Key, various edit options are available. For example, if the key type is a simple string user can easily change the value of the Key. Likewise, the list type key user can add new items to the list, edit existing items in the list or even remove items from the list. It also allows the user to rename the Key Name.
Following are steps to edit a Key in Redis Cache Database:
- Open the Redis Cache database
- Select Scan/Keys commands to retrieve all the keys available in the Database
- Double click on the required Key to be edited
- Change the value of the Key and click Update to save the updated Key
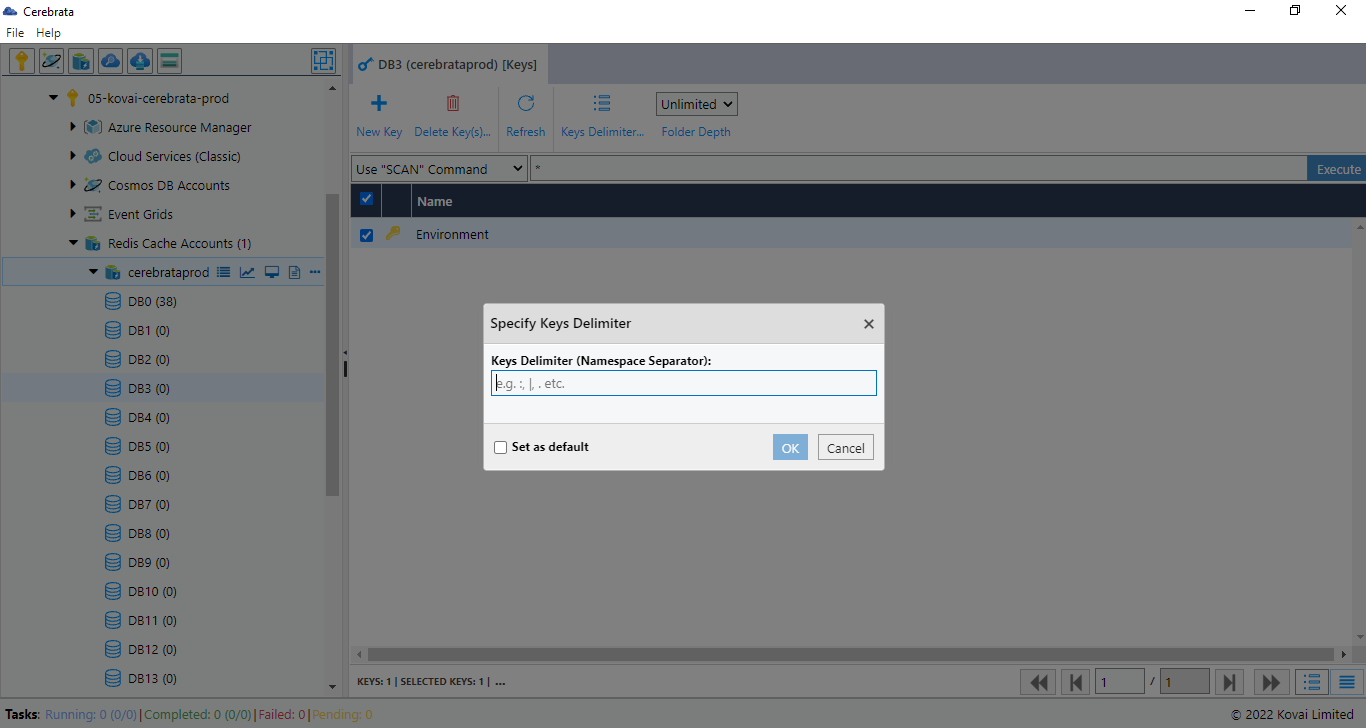
Specify Delimiter
Cerebrata provides flexibility on how the user wants to view the keys. Suppose the keys follow a pattern where the key name is delimited (e.g., "A|B|C|D|E"). In that case, it is possible to instruct Cerebrata to show it in hierarchical format by specifying the delimiter character ("|" in this case). Furthermore, the user can lead Cerebrata to follow this delimiter to only a certain depth only.
Following are the steps to configure delimiter for a key:
- Open the required Redis Cache Database
- Select Scan/Keys commands to retrieve all the keys available in the Database
- Select the necessary keys to set Delimiter
- Click Keys Delimiter, Provide the Delimiter. Check SET AS DEFAULT as required
- Click Ok to save the delimiter
Was this article helpful?