Storage Blob Container
- 05 Apr 2022
- 7 Minutes to read
- Contributors

- Print
- DarkLight
- Download PDF
Storage Blob Container
- Updated on 05 Apr 2022
- 7 Minutes to read
- Contributors
- Print
- DarkLight
- Download PDF
Article summary
Did you find this summary helpful?
Thank you for your feedback!
Introduction
Microsoft's Azure Blob storage allows you to store large amounts of unstructured data. Unstructured data refers to data that is not defined by a particular data model. Text and binary data are examples.
New Item
Cerebrata offers the capability to add New blob into a Blob Container. Using Cerebrata, user can create Virtual Folders, Page blob and Append blob.
The below illustration shows how to create Virtual folders.
Note
A virtual folder does not exist in a blob container until you upload a blob in it. Immediately after creation, you must upload blobs in this folder to persist the folder. You can also click on the "Create a zero byte blob in this folder" checkbox below to persist the folder.
New Page/Append Blob
- Open the Blob container, select + New -> Empty Page/Append Blob.
- Provide the name of the blob in popup opened and Size if it is a page blob.
- Click Save to create Page/Append Blob
The below illustration shows how to create a new Page/Append Blob
Upload Page/Append Blob
- Open the Blob container, select New -> Page/Append Blob from file.
- Select the file that needs to upload. Choose Chunk size and Overwrite Behaviour
- Click Save to upload the blob
The below illustration shows how to upload a new Page/Append Blob
Upload Items
In addition to Blobs creation, Cerebrata also allows user to upload the files and folders from the local storage.
Following are the steps to upload Files and Folders into Blob Containers:
- Open the Blob container, select Upload -> Upload Files/Folders.
- Select the Files/Folders to be uploaded and provide Chunk Size, Overwrite behaviour, Page Blob file extensions, Compress file extensions, Block blob access tier
- Hit Upload to upload the Files/Folders
Download
Consider if the need is to back up the blobs into a local machine. Cerebrata allows users to download the files/folders into the required folders.
Following are the steps to download files/folders in Cerebrata:
- Open the Blob container, select the files/folders to be downloaded and Click Download
- In the popup opened, select the folder when the files/folders to be downloaded, provide Overwrite behaviour and hit Download to download the files/folders
Note
If a blob is compressed with GZIP or DEFLATE compression algorithm, i.e. blob's content encoding is set as either "gzip" or "deflate", you can instruct Cerebrata to decompress it after Download automatically.
Delete Blobs
User can delete either selected files/folders or all using Cerebrata.
Following are the steps to delete the files/folders from Storage Blob:
- Open the Blob container, select the files/folders to be deleted and Click Delete
- It will open a popup and ask the user to enter the numbers in the "VERIFICATION CODE" box into the "CONFIRM CODE" box beside it.
- Once the Verification code is entered, Click Delete to delete the appropriate files/folders
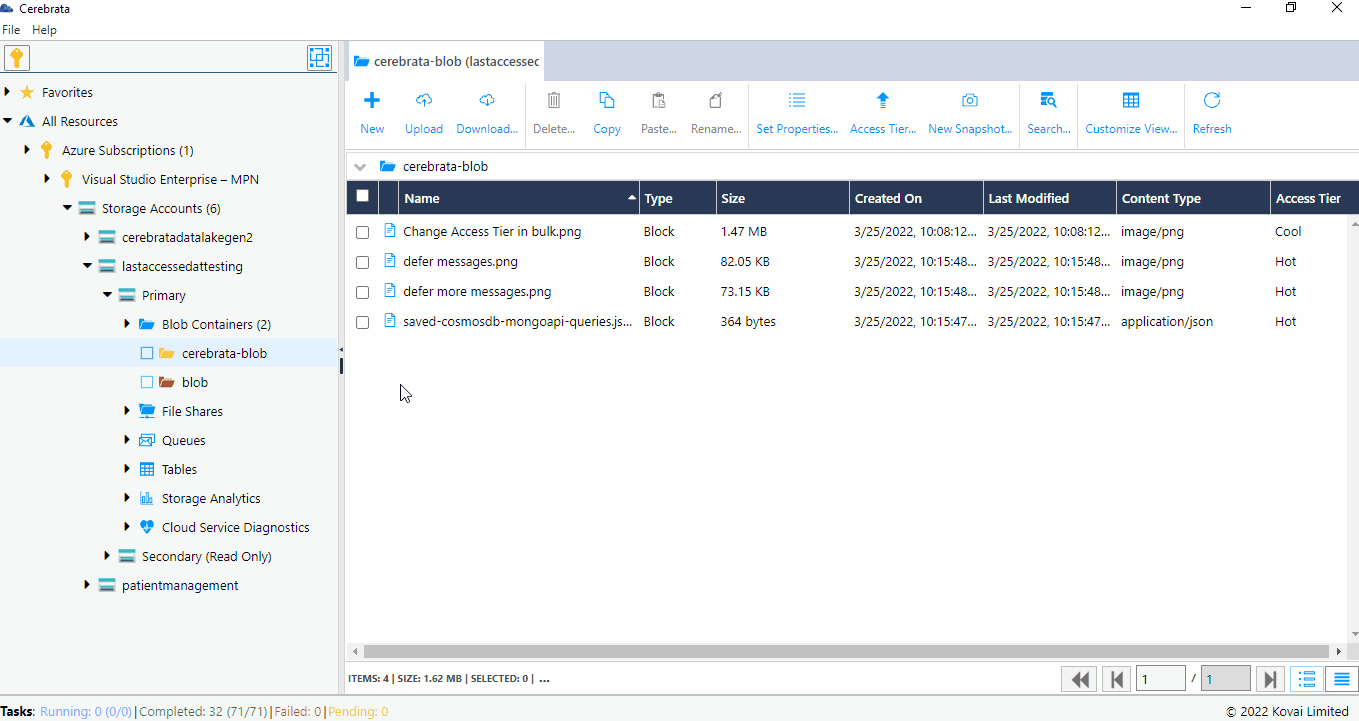
Access Tier
Consider a scenario where the user needs to change the access tier of all blobs in a blob container from "hot" to "archive". By default, Azure Storage only allows user to change the access tier of an individual blob. Cerebrata includes a neat convenience utility using a single click user that can change the access tier of all blobs in a blob container. For example, in a single click user can move all blobs in a blob container from "hot" access tier to "cool" or "archive" access tier.
The users can also specify additional conditions like changing the access tier of all the blobs from "hot" to "cool" that are not modified or accessed for the past 30 days.
Following are the steps to set Access Tier for blobs:
- Open the Blob container, select the files/folders to update the access tier and Click Access Tier
- In the Change Blob Access Tier popup, set the access tier conditions based on the need.
- Click Submit to set the access tier
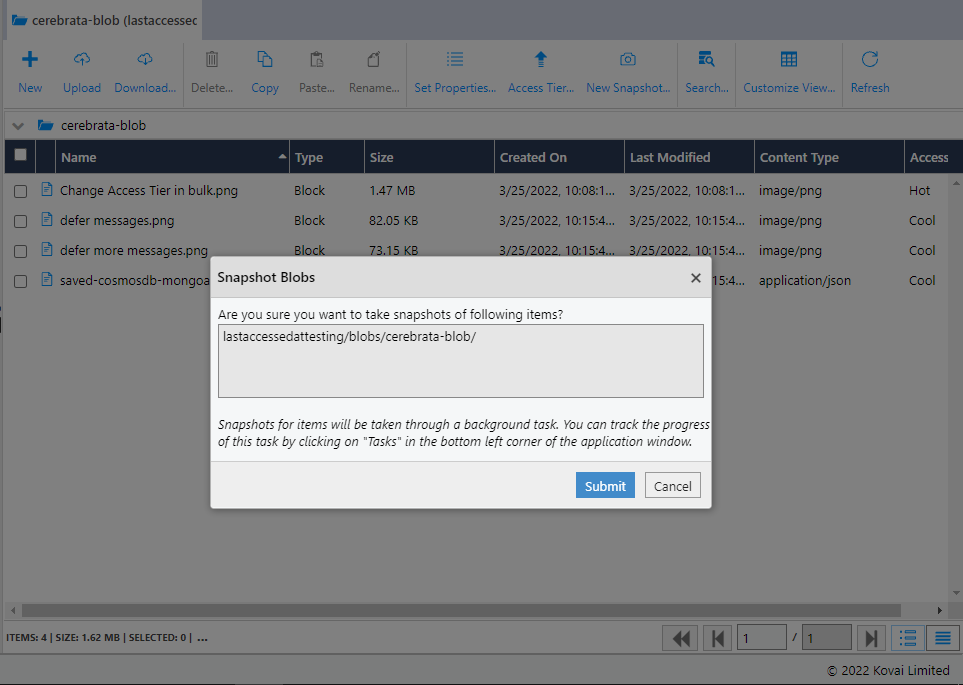
New Snapshot
By default Azure Storage allows users to take a snapshot of an individual blob in a blob container. Cerebrata includes a utility using which, in a single click user can take a snapshot of the entire blob container, i.e., it will take the snapshot of all blobs in that blob container.
Following are the stope to create a Snapshot for Blobs:
- Open the Blob container, select the files/folder and Click New Snapshot
- Click Submit in the popup opened to add a snapshot to the select files/folders
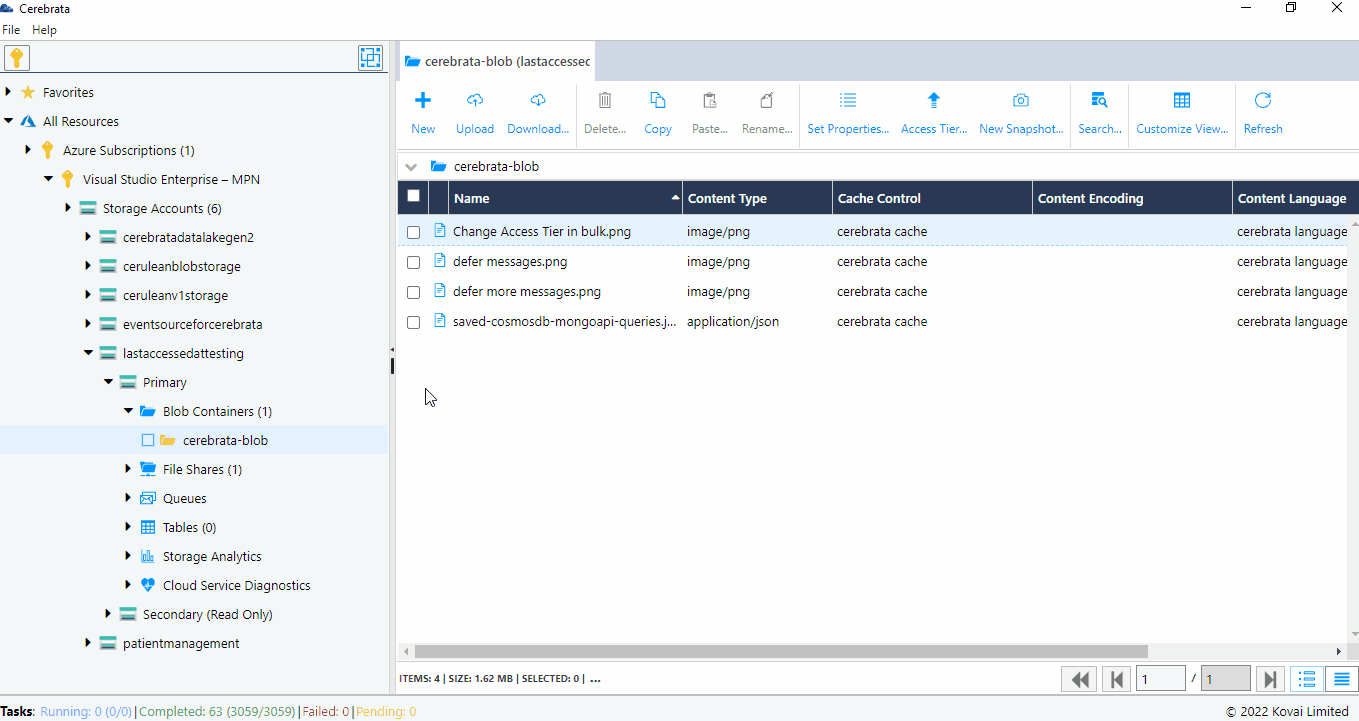
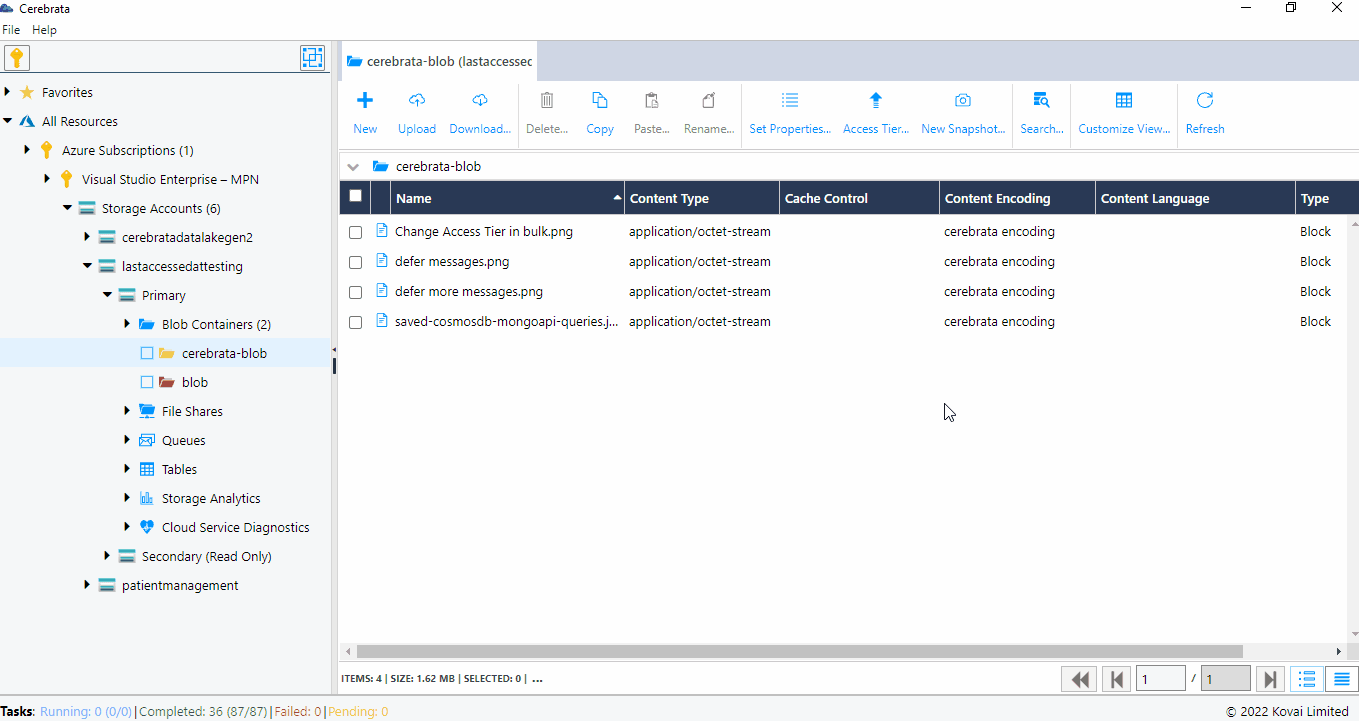
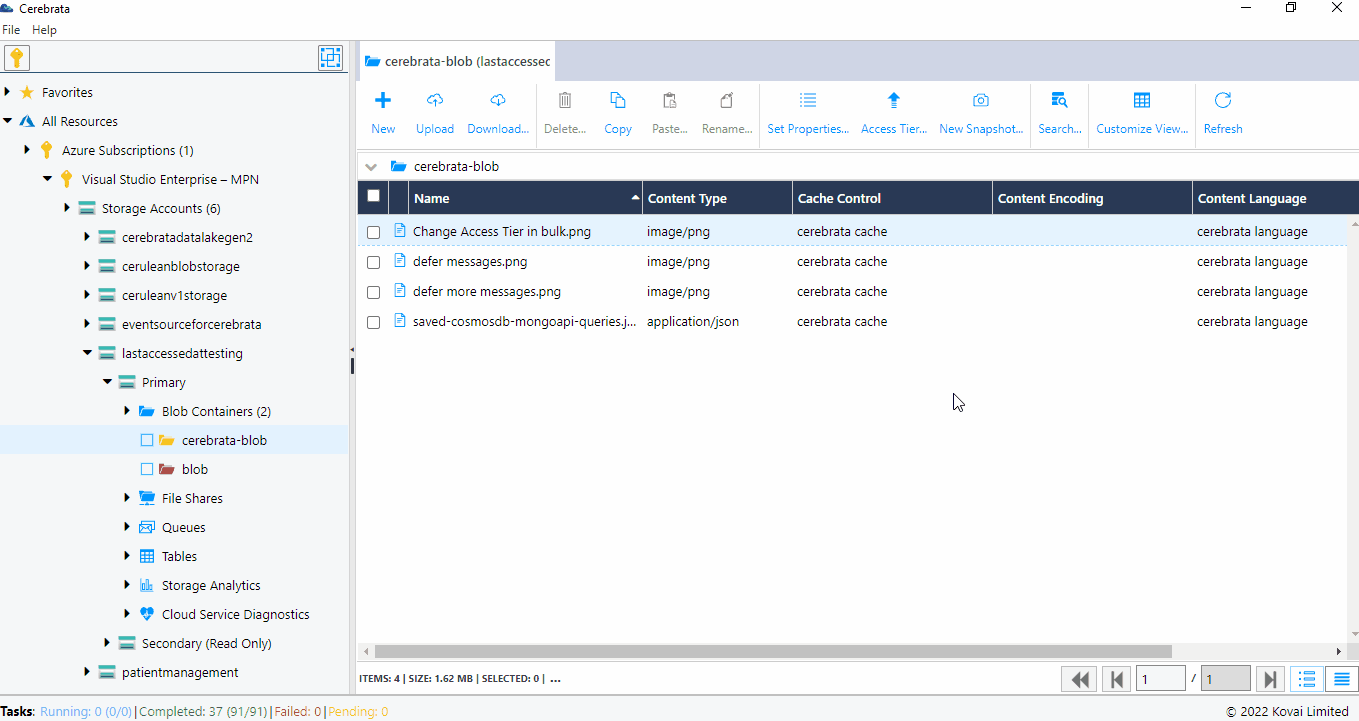
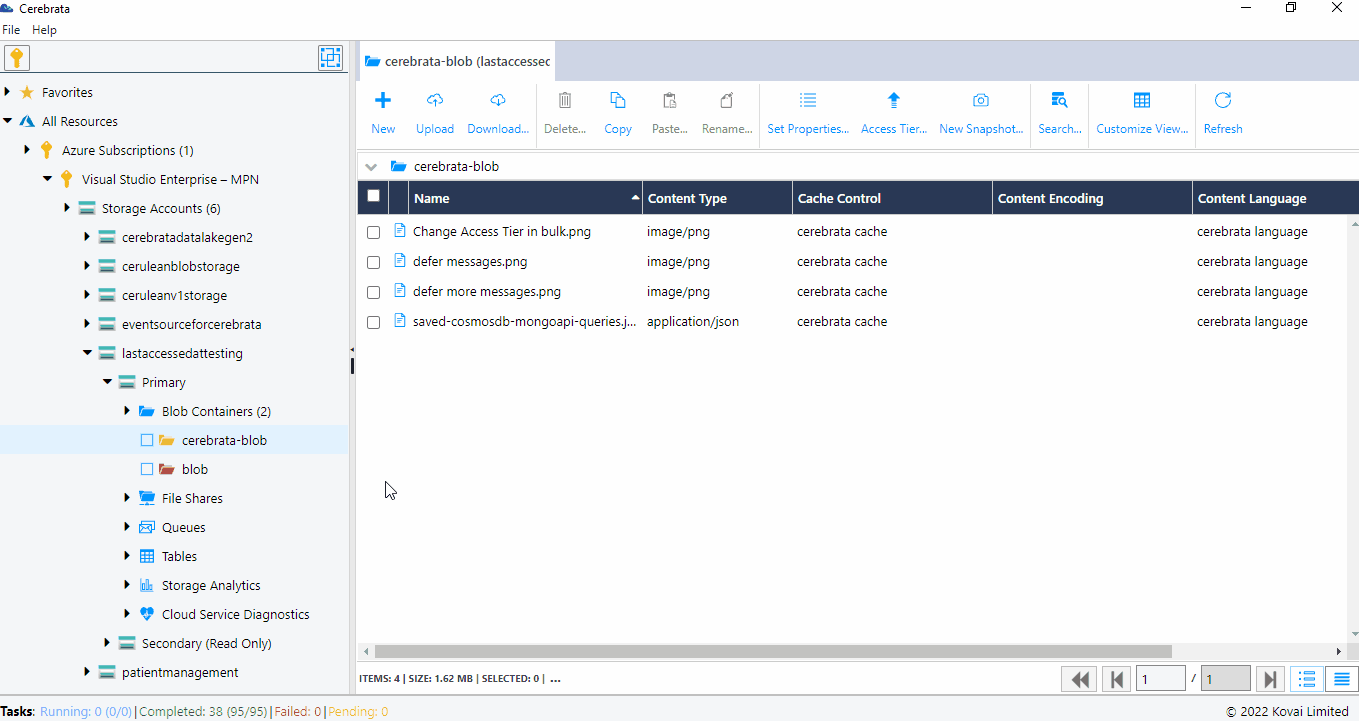
Set Properties
Consider a scenario where the user needs to change the "cache-control" property of all blobs in a blob container. By default, Azure Storage only allows user to change the property of an individual blob. Cerebrata includes a utility using a single click that can change properties like cache control, content-language, content-encoding, and content type of all blobs in a blob container.
Following are the steps to define the properties of blobs:
- Open the Blob container, select the files/folders to set properties and Click Set Properties
- It will open a popup and ask the user to enter Cache-control, Control Type, Content-Encoding and Content-Language.
- Once the properties are provided, click Submit to set the properties.
Search
Consider a scenario where the user has too many blobs in a blob container and wants to find out certain blobs. Cerebrata includes a convenient utility using which user can search for blobs in a blob container.
It allows searching for blobs using either a "prefix" (i.e. find all blobs, names of which begin with certain characters) or a "contains" search (i.e. find all blobs, names of which contain certain characters).
It is also possible to search the blobs based on the tags defined on them. The operators that can be used in tag based search are =, >, >=, < and <=.

Blob container Inventory
A user can download details about all the blobs as a CSV file in a container through blob container inventory. It is also possible to include information about blob snapshots and versions along with the blob. Required properties that must be included in the CSV can be selected.

Manage Metadata
User-defined metadata consists of one or more name-value pairs that you specify for a Blob storage resource. You can use metadata to store additional values with the resource. Metadata values are for your own purposes only, and don't affect how the resource
behaves. Using Cerebrata, user can create, delete, edit the Blob container meta data.
Following are the steps to create a metadata:
- Select the context menu of the Blob Container and click Metadata
- It will open a popup "Blob Container Metadata" that shows list of existing Key Value metadata
- Click New Metadata and Add Your Key Value Metadata and hit Save

Change Lease State
The Lease Blob operation creates and manages a lock on a blob for write and delete operations. The lock duration can be 15 to 60 seconds. Using Cerebrata, user can change the lease state of a Storage Blob Container. Below are five modes Lease state available,
The Lease Blob operation can be called in one of five modes:
- Acquire, to request a new lease.
- Renew, to renew an existing lease.
- Change, to change the ID of an existing lease.
- Release, to free the lease if it is no longer needed so that another client may immediately acquire a lease against the blob.
- Break, to end the lease but ensure that another client cannot acquire a new lease until the current lease period has expired.

Properties
For Storage Blob Container, user can check the properties of the Storage Blob Container like the present lease state or when the Storage Blob last modified.
Following are the steps to view the properties of a Storage Blob Container
- Select the context menu of the Blob Container and click Properties
- It will open a popup "Blob Container Properties" that shows the properties like Lease state, Last modified, ETAG and more.
Shared Access Signature & Permissions
Using Cerebrata, user can even manage Shared access Signature for Storage Blob Containers. It also provides option to define the level access that needs to be provided for a SAS Token. It also Permissions to manage the Access Policy of the SAS Token. Click here to know about Shared Access Signature
Following are the steps to create SAS Token and URL for Storage Blob Container by defining the granular access:
- Select the context menu of appropriate Storage Blob Container and click Shared Access Signature
- This will open a Popup "Blob Container Shared Access Signature (SAS)"
- Select the level of access that needs to be provided along with Expiry date of the SAS Token
- Click Next to get the SAS URL and Token for the selected Storage Blob Container.
Note
Cerebrata also offers option to restrict the IP Address and protocol using Advanced settings. Click More Settings in the left bottom of the dialog to open Advanced SAS Settings.
Delete Blob Container
Consider when a QA team created a Storage Blob Container to perform testing. When the testing is over, QA engineer would need to delete that Blob Container in a Storage Account. Here comes Delete option in Cerebrata.
Following are the steps to delete a Storage Blob Container:
- Select the context menu of the appropriate Blob Container and click Delete
- It will open a popup and ask user to enter the numbers in "VERIFICATION CODE" box into "CONFIRM CODE" box besides it.
- Once the Verification code is entered, Click Delete to delete the Storage Blob Container
Was this article helpful?