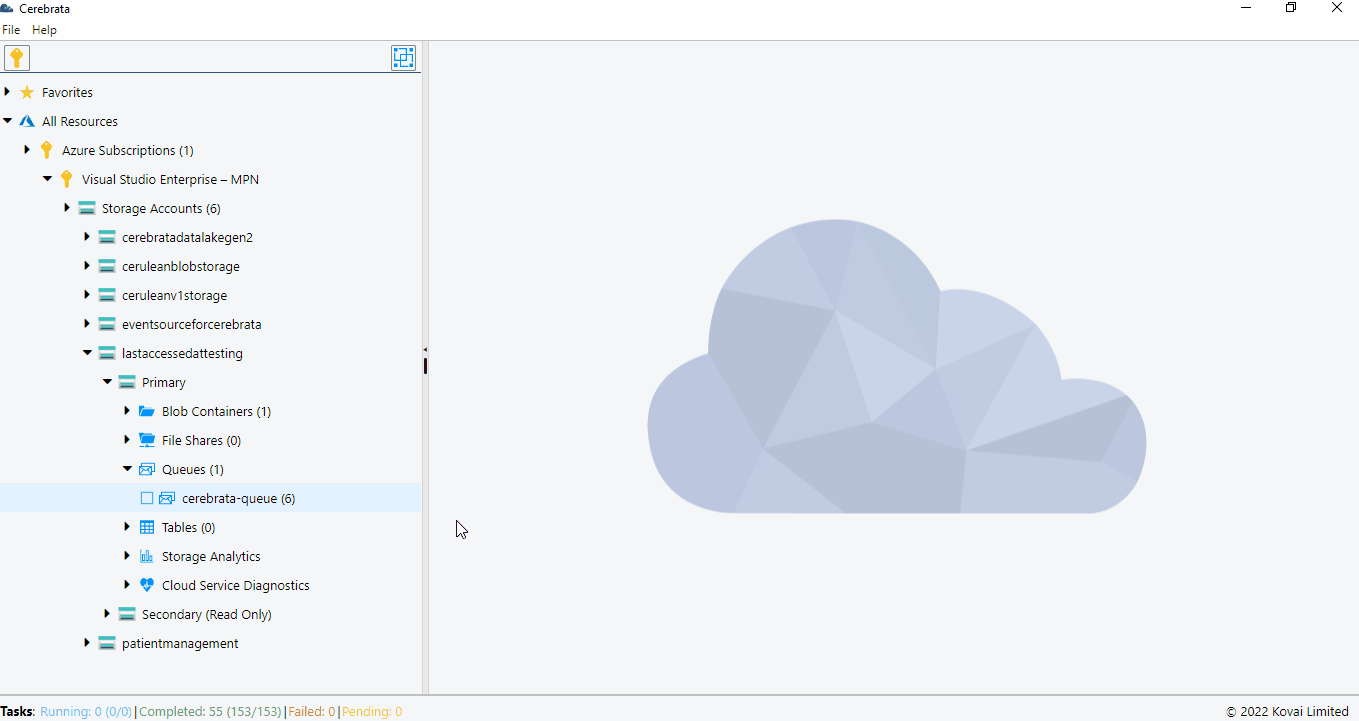
Storage Queue
- 06 Apr 2022
- 7 Minutes to read
- Contributors

- Print
- DarkLight
- Download PDF
Storage Queue
- Updated on 06 Apr 2022
- 7 Minutes to read
- Contributors
- Print
- DarkLight
- Download PDF
Article summary
Did you find this summary helpful?
Thank you for your feedback!
Introduction
Cerebrata makes managing the data stored in your queue storage like child's play. Cerebrata provides the most comprehensive set of features with full fidelity with Azure Queue Storage REST API, from managing queues to messages.
Armed with features like monitoring queues, copying/moving messages from one queue to another, one-click clearing queue and more, user quest for managing the queue storage assets ends with Cerebrata.
New Message
Using Cerebrata, user can send new messages to a queue. It also allows the user to set how long the message will live (including message will never expire option) and select the initial visibility timeout, i.e. message will not appear in the queue for a certain amount of time.
Following are the steps to add a new message to Storage Queue:
- Open the required Storage Queue, Click New Message
- It will open a popup to input message content and properties of the message
- Provide Messages content, Type of the message, Message Expiry and Initial Visibility Timeout
- Click Apply or Save to create a message in a Storage queue

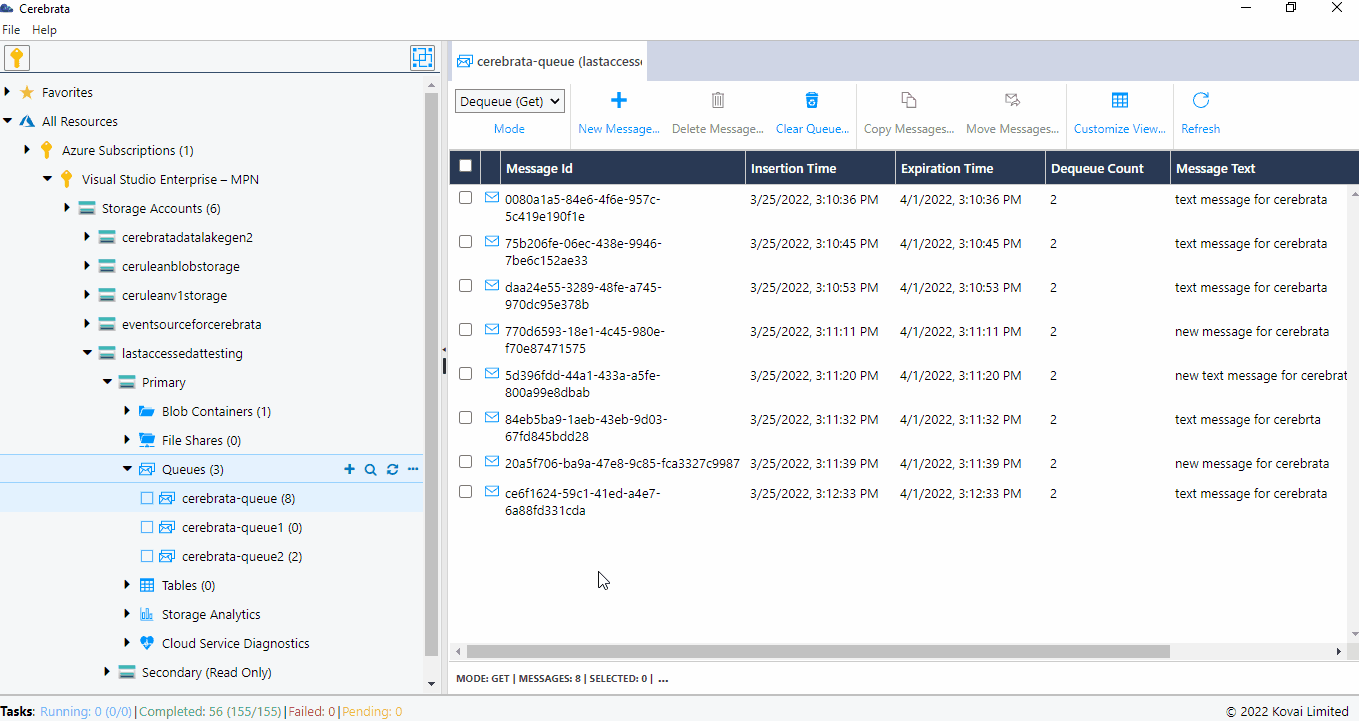
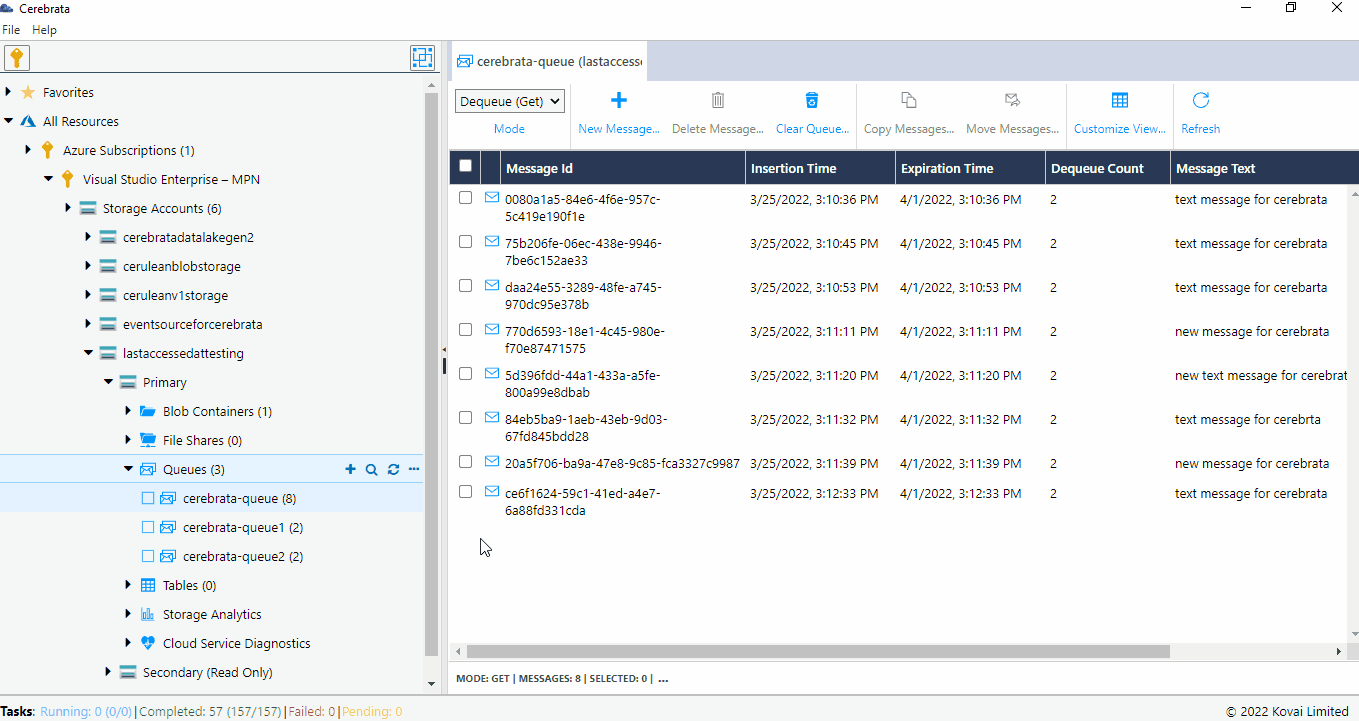
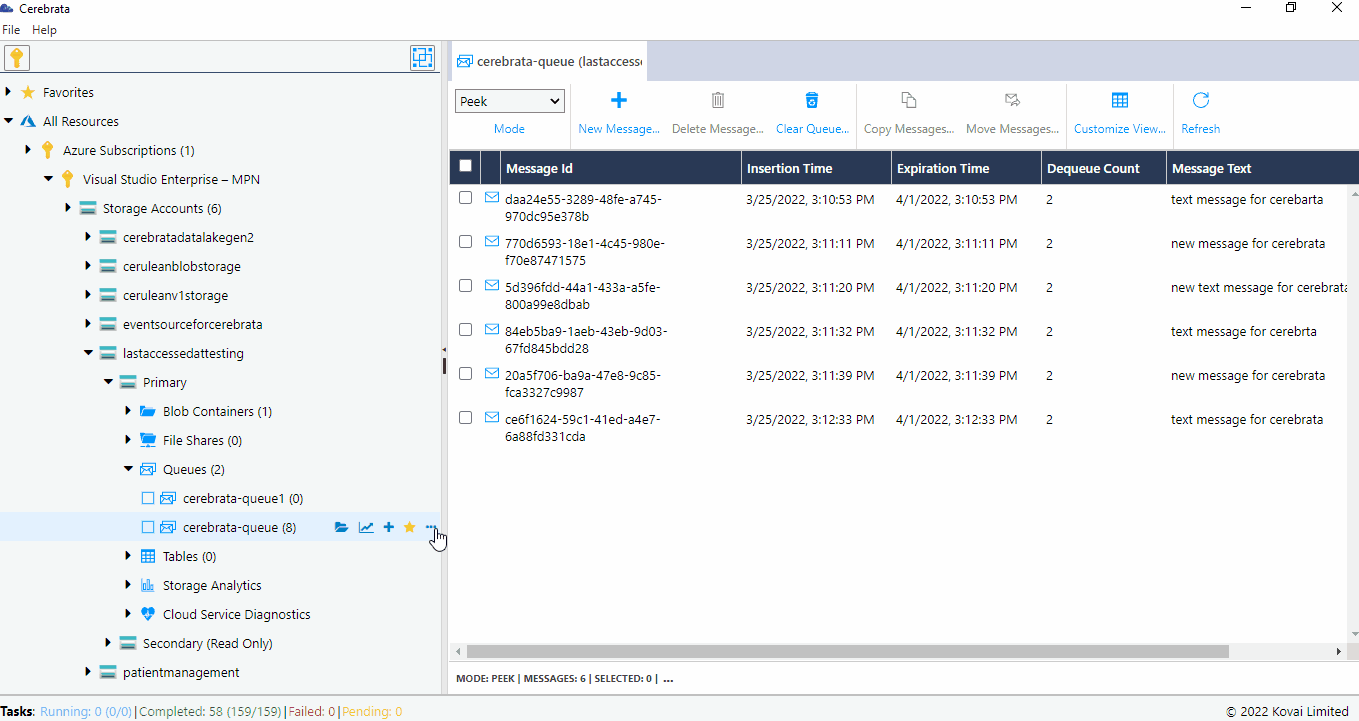
Peek/Dequeue Messages
Using Cerebrata, it is possible to list messages available in a queue. It supports both "Peeking" messages where message visibility is not changed and "Getting" messages are dequeued and made hidden from other subscribers of the queue. If the need is to update the message content, the user should retrieve messages in Get mode. i.e., dequeuing the message.
Following are steps to Peek/Dequeue the messages:
1. Open the required Storage Queue, Select the mode of retrieval (Peek/Dequeue)
2. If the need is to change the message content. Retrieve the messages in Dequeue mode, double click on the required message to open the message content. 3.Now make changes. Click Update to update the message
Delete Messages
User can delete the selected messages of a Storage Queue from Cerebrata.
Following are the steps to delete the messages from Storage Queues:
- Open the required Storage Queue and retrieve the messages in dequeue mode. Select the messages that need to be deleted. and Click Delete Messages
- It will open a popup and ask the user to enter the numbers in the "VERIFICATION CODE" box into the "CONFIRM CODE" box beside it.
- Once the Verification code is entered, Click Delete to delete the appropriate messages

Copy Messages
Consider If the user needs to back up all the messages in a Storage queue to a backup queue, Cerebrata offers the option to copy the messages from one queue to another queue with few clicks.
Following are the steps to copy messages from one queue to another queue:
- Open the required Storage Queue and retrieve messages in either peek mode or dequeue mode
- Select the messages to be copied to another queue
- Click Copy Messages, which will open a popup.
- Select the Target Queue and enter the verification code
- Click Submit to copy messages to the selected queue.
Move Messages
If the need is to move the actual messages to another queue rather than share the copy of the messages, Cerebrata offers this. User can move messages from one queue to another queue seamlessly using Background tasks.
- Open the required Storage Queue and retrieve messages in dequeue mode
- Select the messages to be moved to another queue
- Click Move Messages, which will open a popup.
- Select the Target Queue and enter the verification code
- Click Submit to move messages to the selected queue.
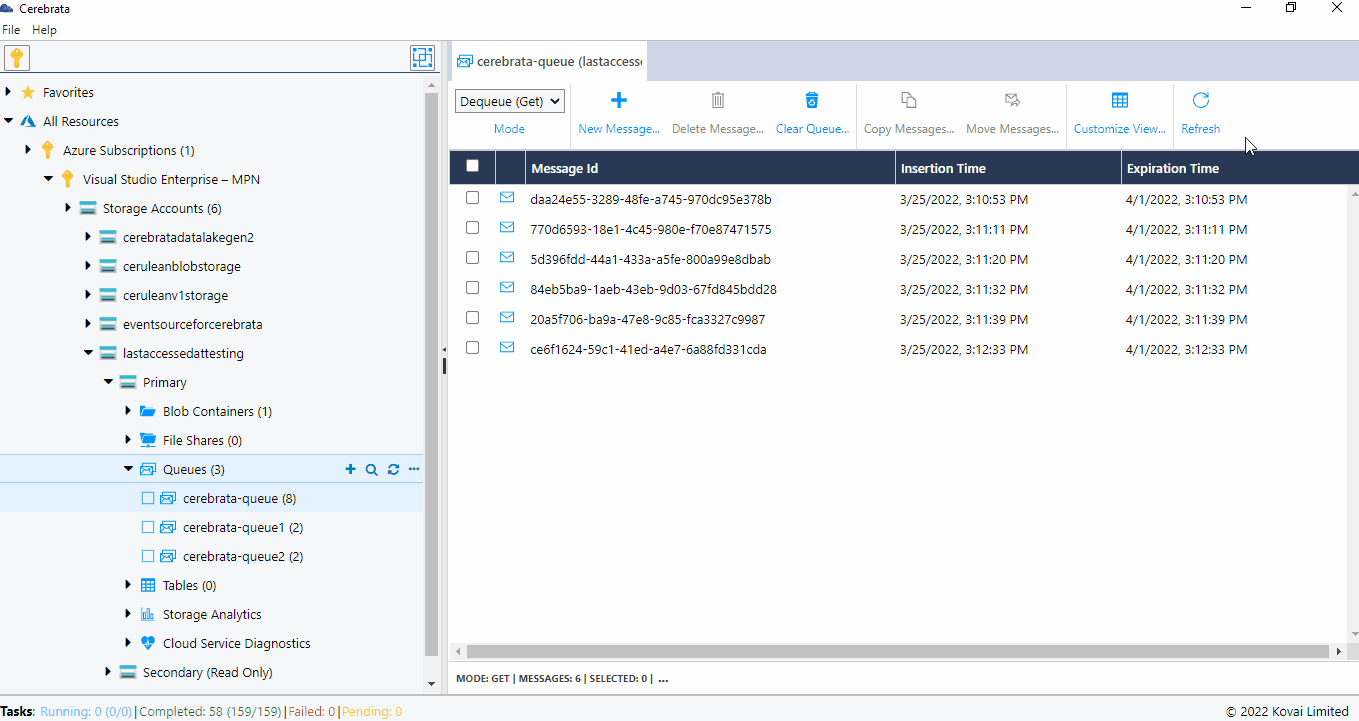
Customize View
Using Cerebrata, user can customize the view of listing messages. User can specify the attributes of a message (like message-id, insertion/expiration time, dequeue count, and message text) that needs to be shown in the grid.
Following are the steps to customize the view of the grid:
- Open the required Storage Queue. Click Customize View
- It will open a popup where the user can choose the columns and the order in which you want to display them in the table grid.
- Click Ok to reflect the changes on the grid.
Add Queue
Cerebrata offers the capability to create a Storage Queue. It makes developers life more comfortable and saves time switching to Azure Portal to create a Storage Queue.
Following are the steps to create an Azure Storage Queue:
1. Click the + button in the Queue node. It will open a dialogue box
2. Provide the Queue name
3. Click Save to add a Storage Queue

CORS Settings
CORS is an HTTP feature that enables a web application running under one domain to access resources in another domain. Cerebrate also offers the capability to manage CORS Rules. Using Cerebrata, the user can create, delete, edit the CORS Rules.
Following are steps to create the CORS Rule:
- Select the context menu of the Queue node and click CORS Settings
- It will open a popup showing list of CORS Rules that are already available. User can even the CORS Rules.
- Click New CORS Rule and provide appropriate information like Allowed Domains, Allowed methods, Allowed Headers, Exposed Headers, Max Age
- Click Ok to save the CORS Rule
Analytics Settings
Azure Storage Analytics performs logging and provides metrics data for a storage account. You can use this data to trace requests, analyze usage trends, and diagnose your storage account issues. Cerebrata offers options to changes the settings for Azure Storage Analytics as well. Analytics Setting provides three types of settings. They are,
1. Logging Settings: Logging settings allows user to configure the operations to log. It is possible to log Write, Read and Delete Operations. It also offers options to configure the retention for the log stored.
2. Hourly Settings: Hourly settings allows user to log the operations on an Hourly basis along with Retention policy
3. Minutes Settings: Minutes settings allows user to log the operations on every minute along with Retention policy

Delete All Queues
Consider when a QA team created multiple Storage Queues to perform testing. When the testing is over, the QA engineer would need to delete all the Storage Queues. Here comes Delete All Queues option in Cerebrata.
Following are the steps to delete all Storage Queues:
- Select the context menu of the Storage Queue node and click Delete All Queues
- It will open a popup and ask the user to enter the numbers in the "VERIFICATION CODE" box into the "CONFIRM CODE" box beside it.
- Once the Verification code is entered, Click Delete to delete all the Queues in a Storage Account

A background task will delete storage Queues. You can track this task's progress by clicking on "Tasks" in the bottom left corner of the application window.
Clear Queue
Using Cerebrata, the user can delete all messages from a queue in a single click without deleting the Queue itself.
Following are the steps to clear queue messages:
- Select the context menu of the Storage Queue node and click Clear Queue
- It will open a popup and ask the user to enter the numbers in the "VERIFICATION CODE" box into the "CONFIRM CODE" box beside it.
- Once the Verification code is entered, Click Clear to delete all the Queues in a Storage Account
Properties
For Storage Queues, the user can check the properties like the Message count or metadata. It is also possible to add or delete metadata from Cerebrata.
Following are the steps to view the properties of Storage Queues.
- Select the context menu of the Storage Queue and click Properties
- It will open a popup "Queue Properties" that shows the properties like Messages and metadata.
- User can click New Metadata to add new metadata for Storage Queues
- Click Save to save the properties

Shared Access Signature & Permissions
Using Cerebrata, user can even manage Shared access Signature for Storage Queues. It also provides an option to define the access level that needs to be provided for a SAS Token. It also Permissions to manage the Access Policy of the SAS Token. Click here to know about Shared Access Signature
Following are the steps to create SAS Token and URL for Storage Queues by defining the granular access:
- Select the context menu of appropriate Storage Queue and click Shared Access Signature
- This will open a Popup "Queue Shared Access Signature (SAS)."
- Select the level of access that needs to be provided along with the Expiry date of the SAS Token
- Click Manage to create and delete Access policies
- Click Next to get the SAS URL and Token for the selected Storage Queue.
Cerebrata also offers the option to restrict the IP Address and protocol using Advanced settings. Click More Settings in the left bottom of the dialog to open Advanced SAS Settings.
Monitor
Along with Operational capabilities like managing SAS Token and Message processing, Cerebrata also offers Monitoring capabilities for users to know the Storage Queues' live status.
Following are the steps to perform live monitoring on the Message count in Cerebrata:
- Select the context menu of the appropriate Storage Queue and click Monitor
- In the Monitor window. Select the required Frequency and Date/Time Range to monitor the Storage Queue
- Now user can see the live monitoring report of the selected Storage Queue as shown below:

Was this article helpful?