Azure Cosmos DB Table
- 22 Mar 2022
- 4 Minutes to read
- Contributors


- Print
- DarkLight
- Download PDF
Azure Cosmos DB Table
- Updated on 22 Mar 2022
- 4 Minutes to read
- Contributors
- Print
- DarkLight
- Download PDF
Article summary
Did you find this summary helpful?
Thank you for your feedback!
Azure Cosmos Table
Azure Cosmos DB provides 'Table API' (Table storage) that is designed to support cloud-scale applications that can contain billions of entities ("rows" in relational database terminology) of data or for datasets that must support high transaction volumes.
View Properties
Note
Properties of Cosmos DB Table can be accessed in Cerebrata only when you associate Cosmos DB Table via Subscription Connection.
To view the properties of the Cosmos DB Table.
- User can traverse to the path - All resources > Azure Subscription > Required Subscription > Cosmos DB Accounts > Required Cosmos DB Table
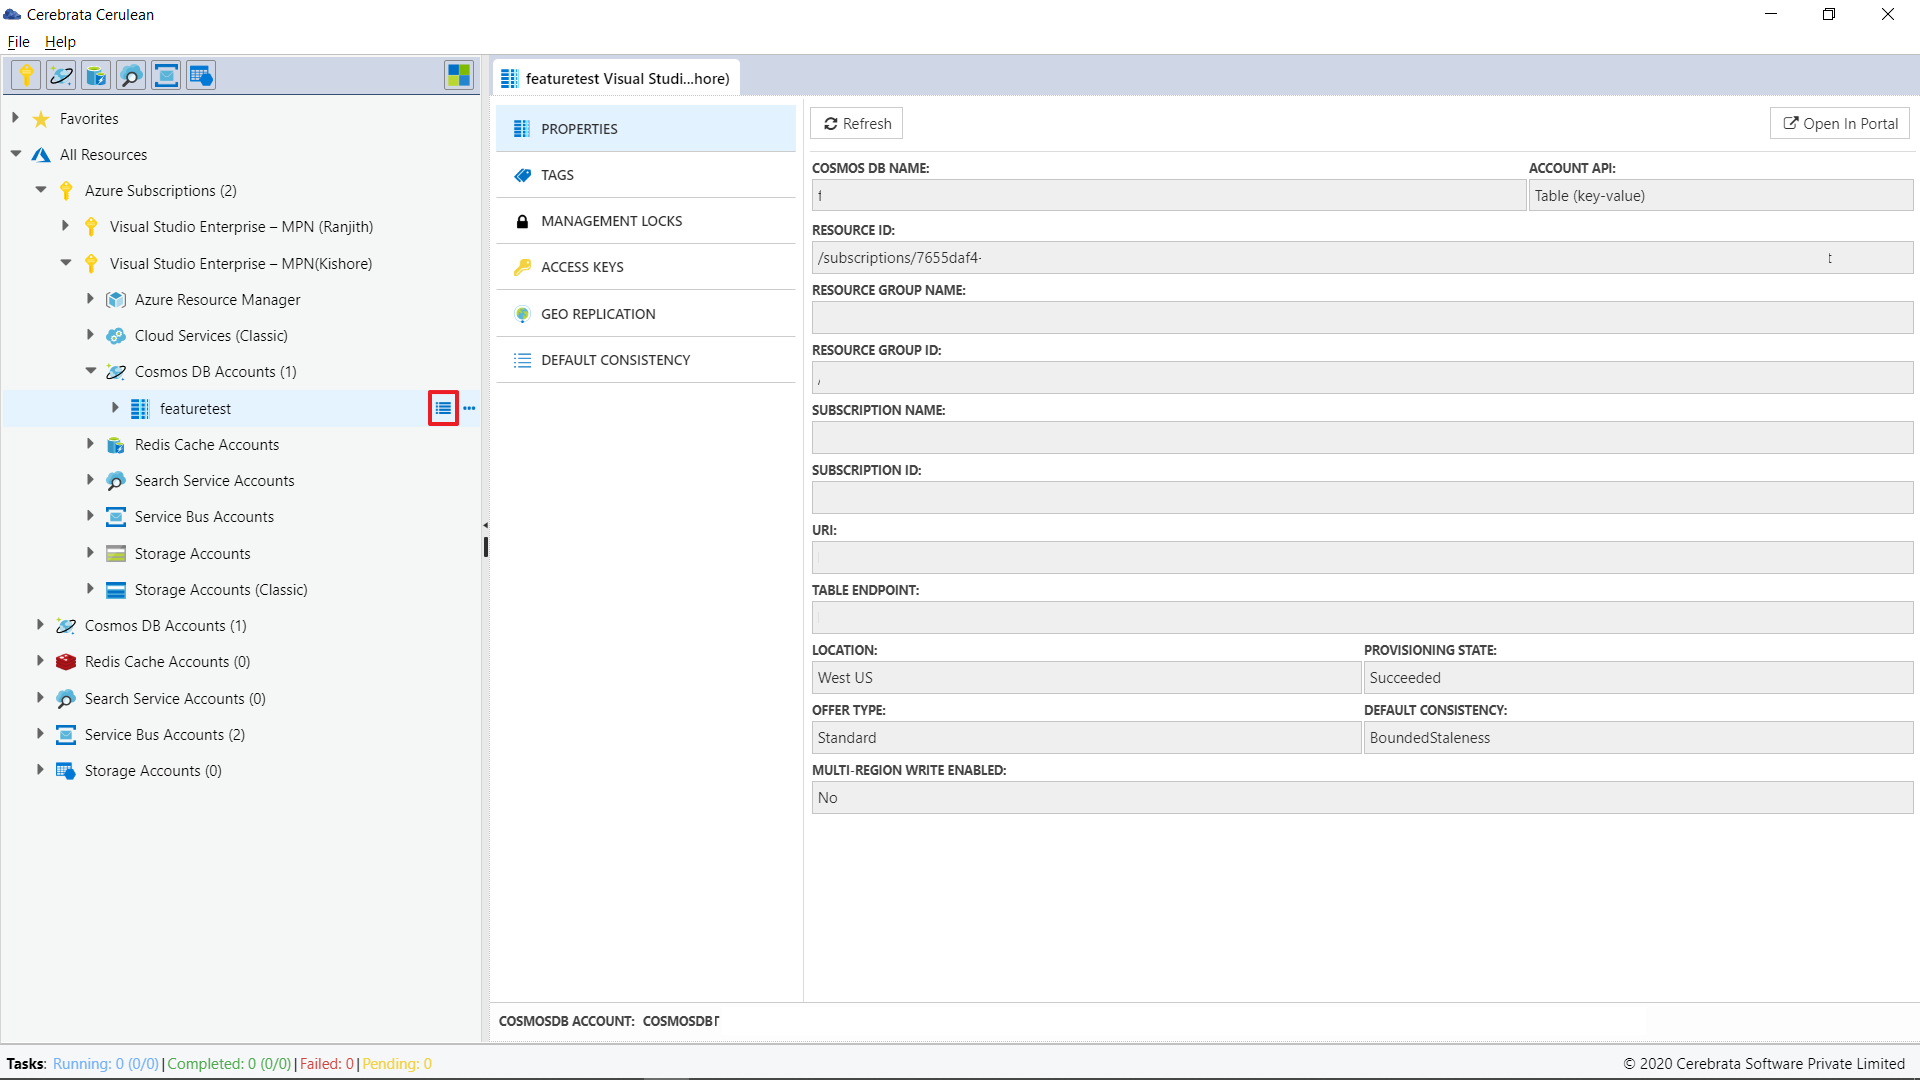
- Now, a user has to click on Manage icon aligned with the Cosmos DB Table name

User can view the following properties of Cosmos DB Table.
- Cosmos DB Table name
- Account API
- Resource ID
- Resource Group name
- Resource Group ID
- Subscription name
- Subscription ID
- Location
- URI
- Table Endpoint
- Provisioning State
- Offer Type
- Default Consistency
- Multi Region Write Enabled
User can also open the appropriate Azure resource in the Azure without traversing between the browser and the application using the Open in portal option available at the top right corner.
Manage Tags
Note
Tags associated with the Cosmos DB Table can be accessed in Cerebrata only when you connect the Cosmos DB Table via Subscription Connection.
To manage the Tags associated with Cosmos DB Table.
User can traverse to the path - All resources > Azure Subscription > Required Subscription > Cosmos DB Accounts > Required Cosmos DB Table
Now, a user has to click on Manage icon aligned with the Cosmos DB Table name

Select the tags option available in the new tab
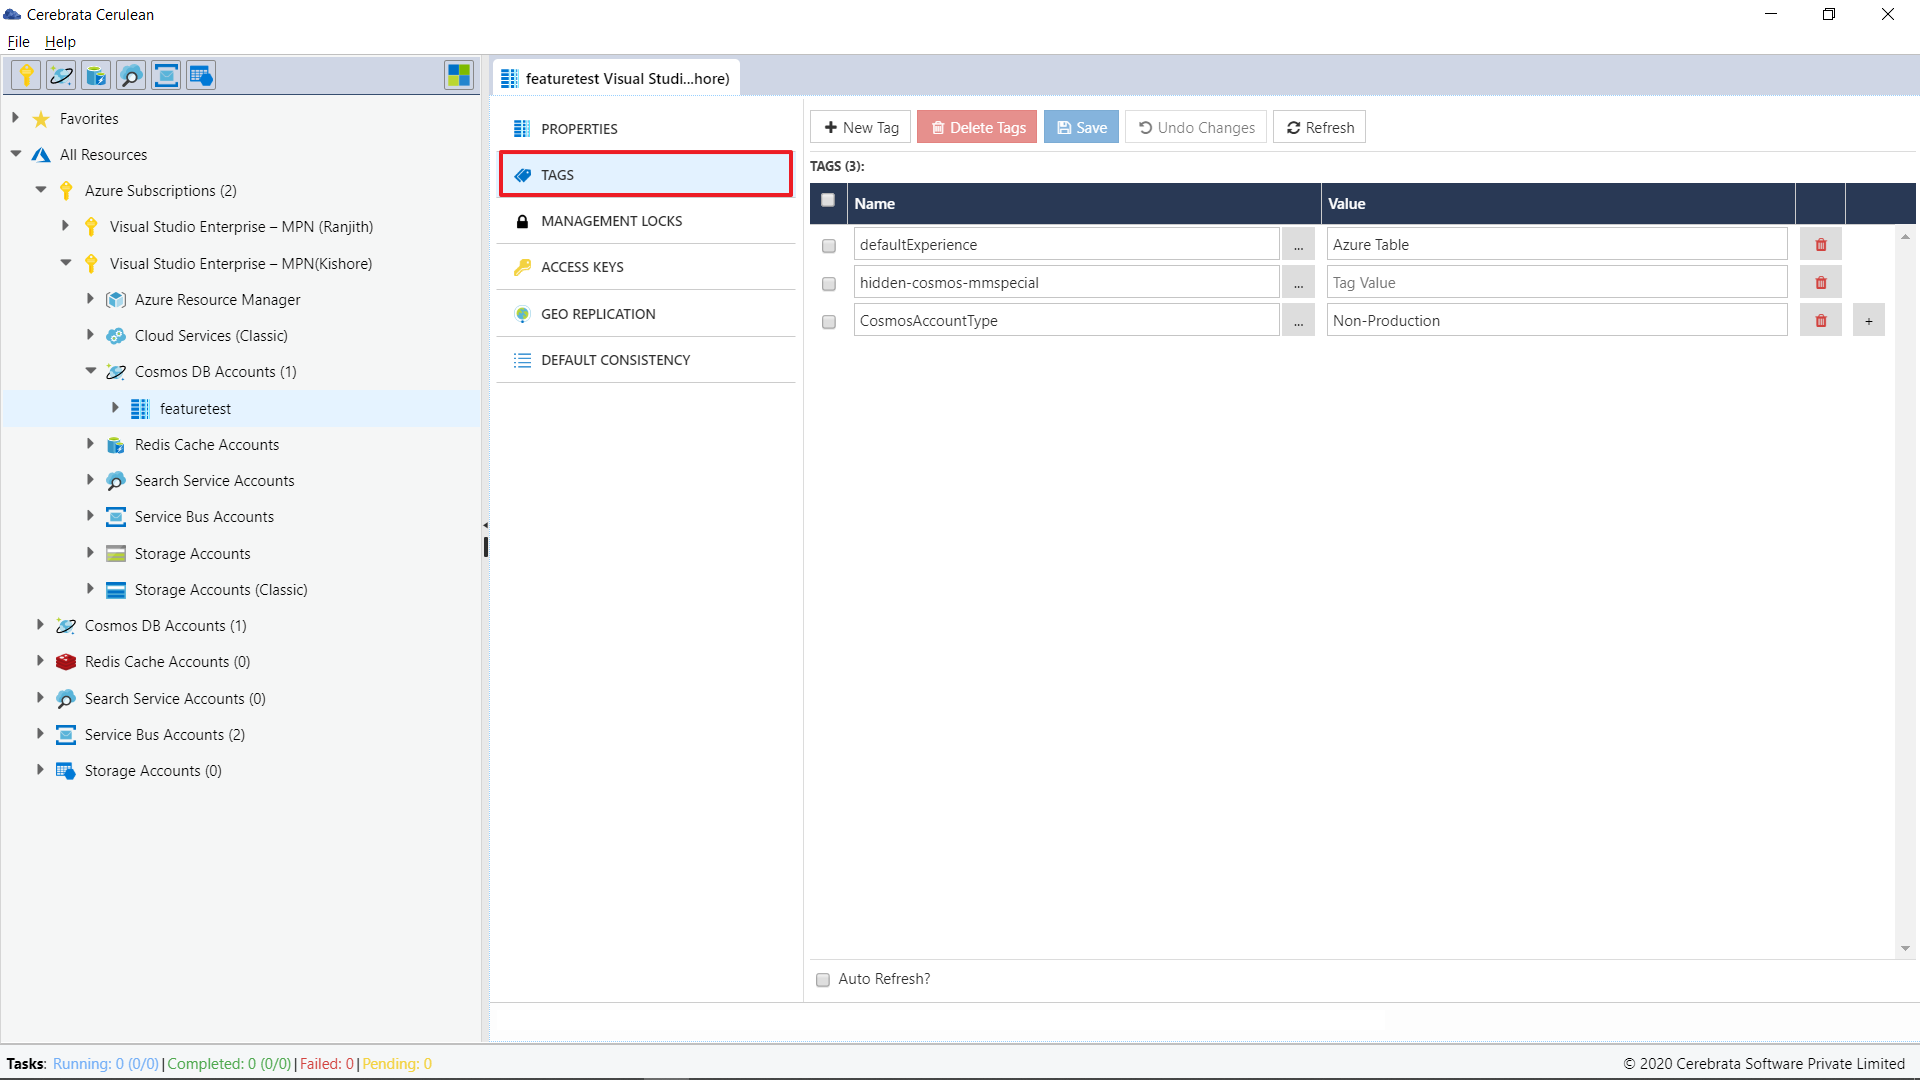
In this new tab, users can view/edit/delete an existing tag assigned to the selected Cosmos DB Table or create new tags.
To create a new tag, click on the New tag icon > provide the tag name and tag value and click on Save.
Manage Locks
Note
Locks on a Cosmos DB Table can be accessed in Cerebrata only when you connect the Cosmos DB Table with Subscription Connection.
To manage the locks on Cosmos DB Table.
User can traverse to the path - All resources > Azure Subscription > Required Subscription > Cosmos DB Accounts > Required Cosmos DB Table
Now, a user has to click on Manage icon aligned with the Cosmos DB Table name

Now User can click on Mangement Locks option to manage the locks
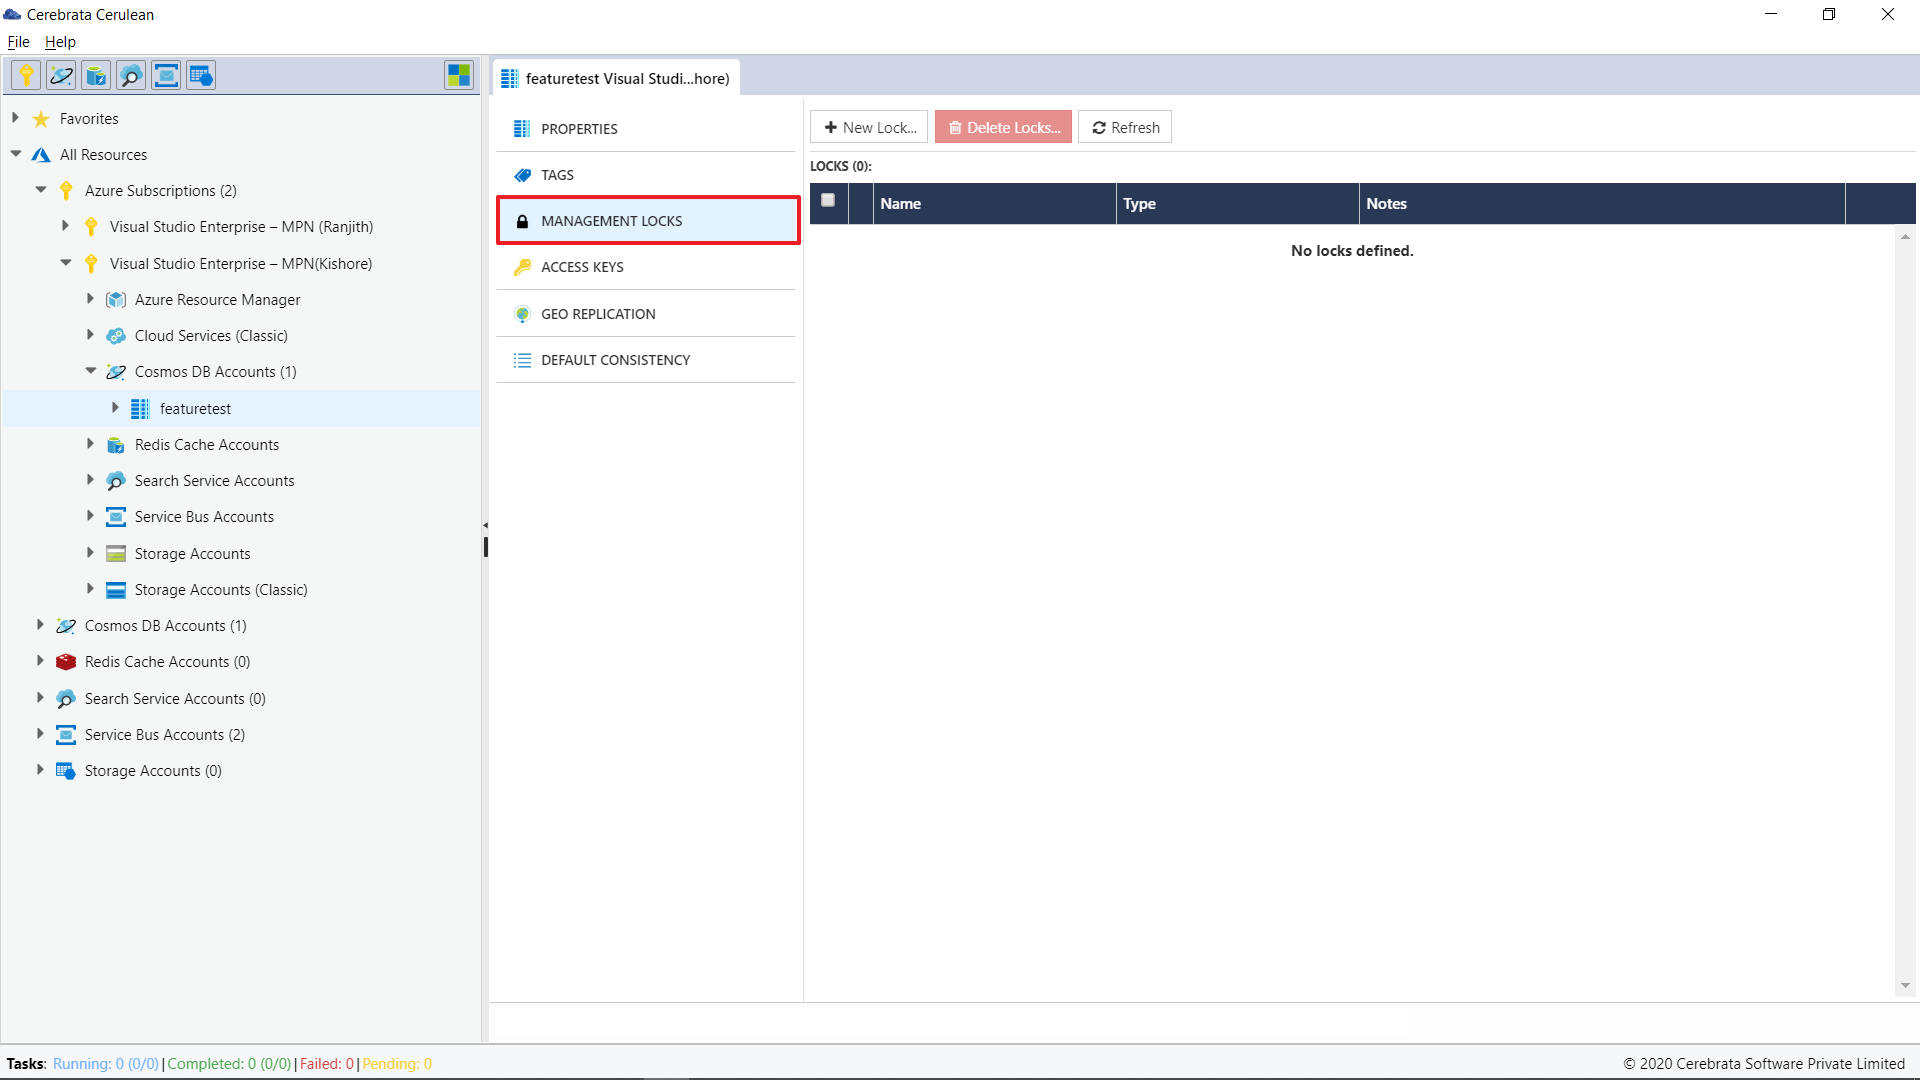
Create a new lock
User can create a new lock from Cerebrata with either Read-Only or Delete lock type.
- Read-only lock: Allows a user to perform only ready. Delete and Update access is denied
- Delete lock: Allows a user to read and modify a resource. Delete access is denied
- User can create a new lock on a Cosmos DB Table by clicking on the New Lock Icon
- In the popup user can provide a name for the lock and specify the lock type
- Clicking on Save will have the lock applied on the corresponding Cosmos DB Table
Edit or Delete a lock
User can delete an existing lock on a Cosmos DB Table by selecting the lock and clicking on the Delete Lock Icon
User can also update or edit an existing lock by clicking on the lock name.
Manage Access Keys
Note
Shared Access Key of a Cosmos DB Table can be accessed in Cerebrata only when you connect the Cosmos DB Table with Subscription Connection.
To manage the Shared Access Policies of the Cosmos DB Table.
User can traverse to the path - All resources > Azure Subscription > Required Subscription > Cosmos DB Accounts > Required Cosmos DB Table
Now, a user has to click on Manage icon aligned with the Cosmos DB Table name
Click on Shared Access Policies to manage them
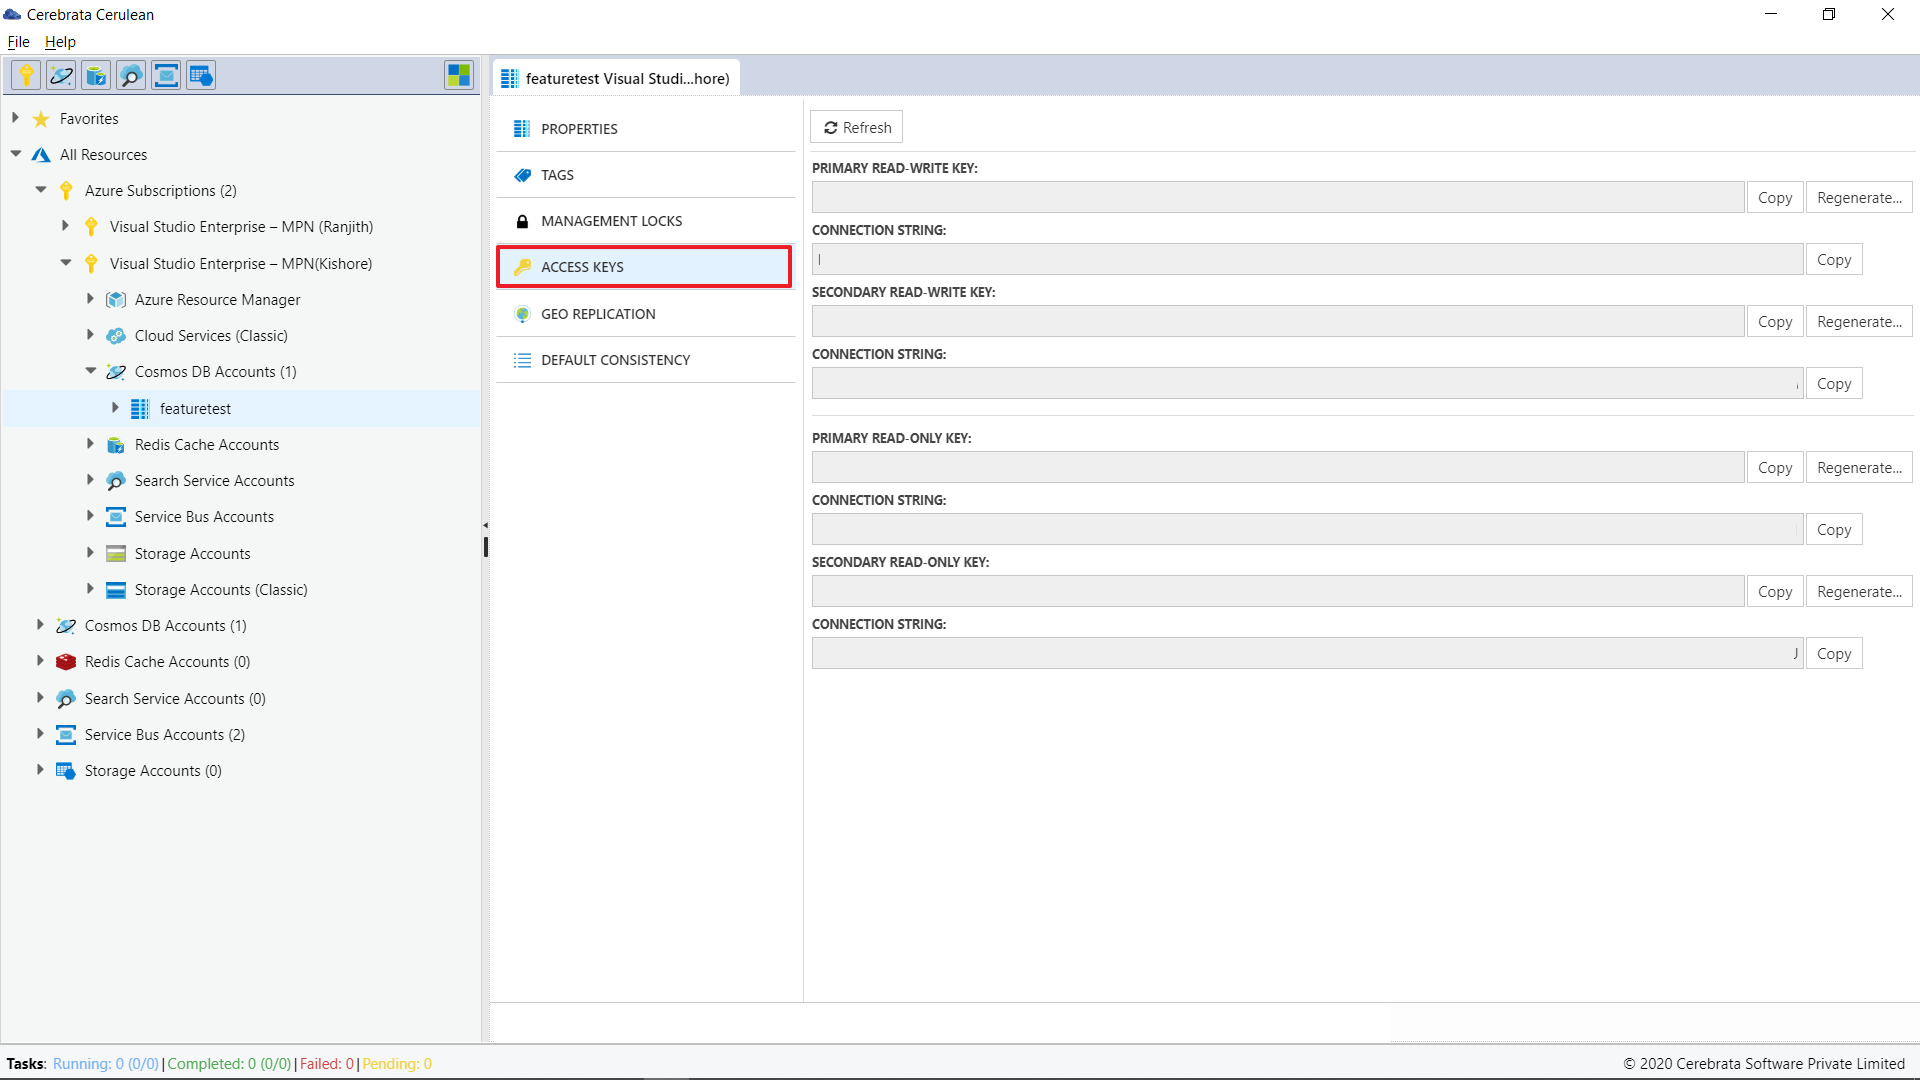
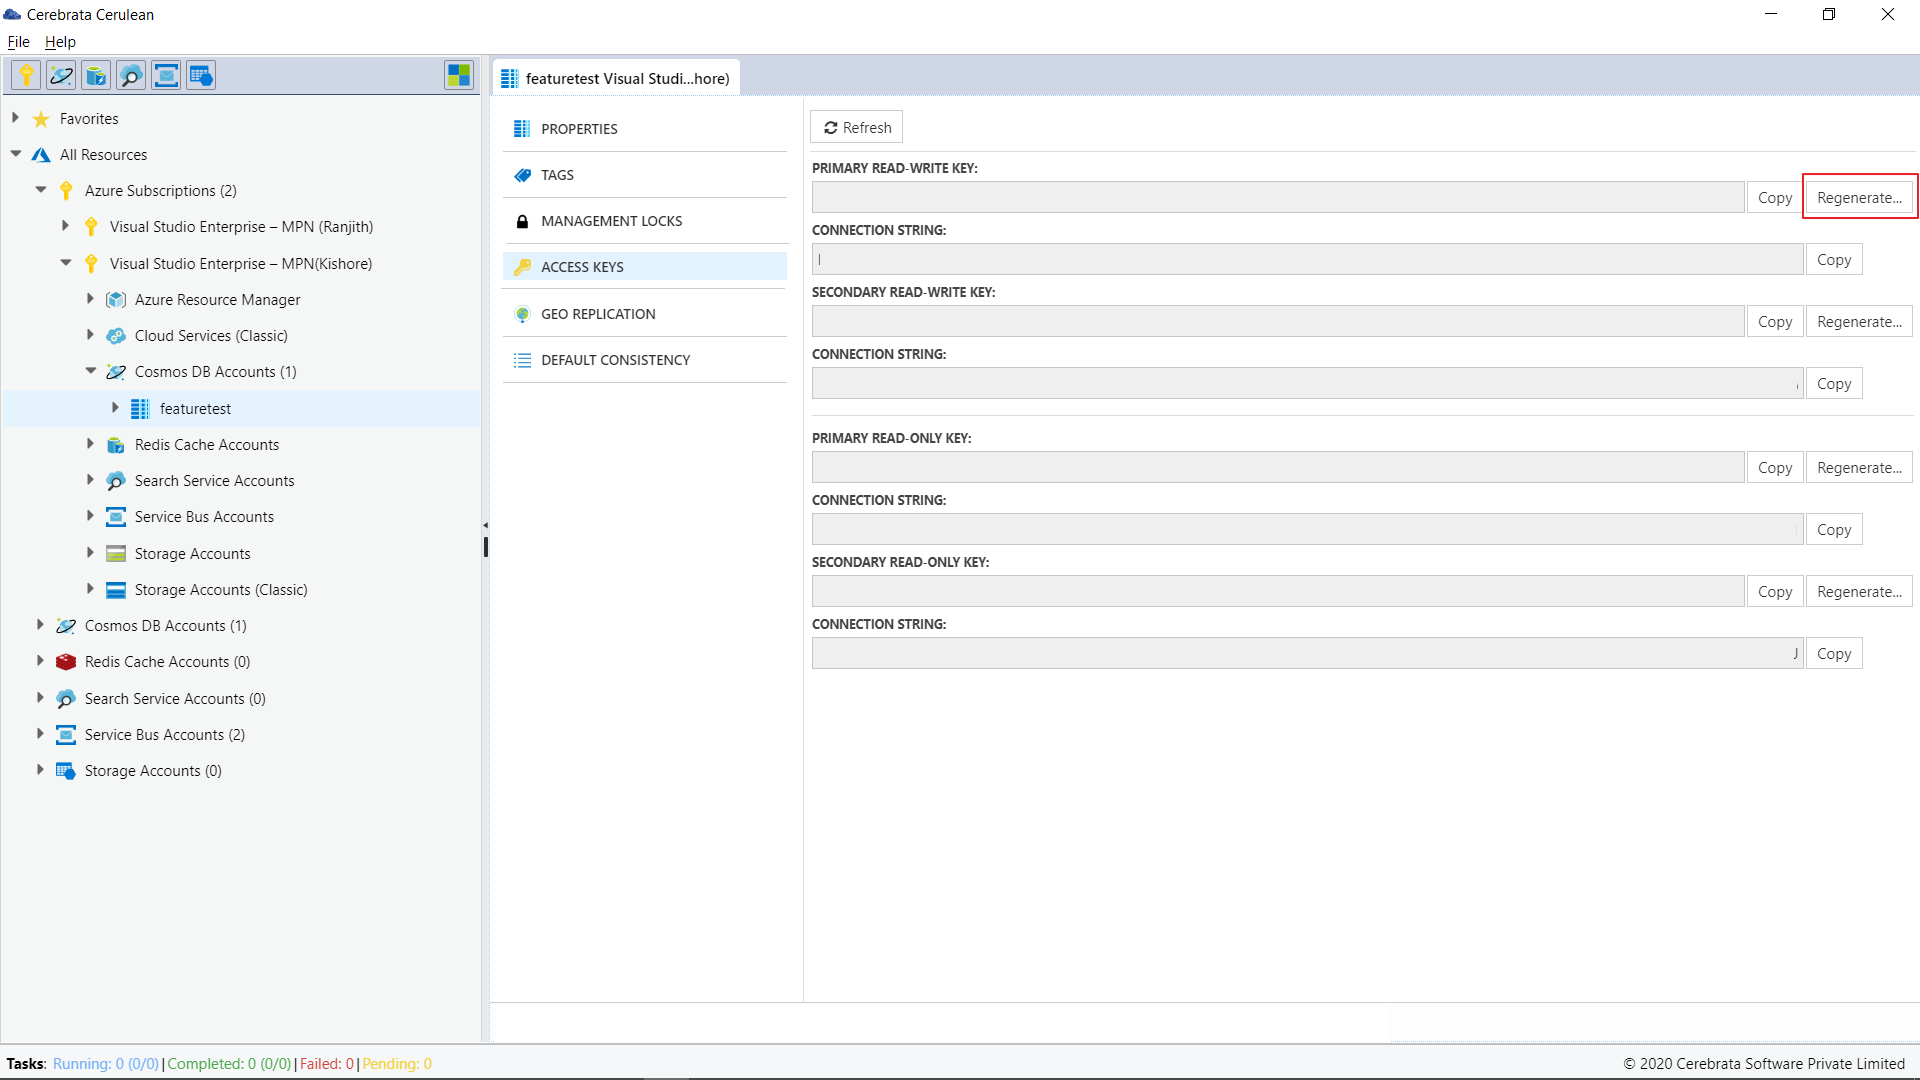
Now the user will be displayed with all the SAS Policies created for the corresponding Cosmos DB Table.
User can view the Primary key, Secondary key, and connection string details now.
User can also regenerate an Access Key from Cerebrata by clicking on the Regenerate button.
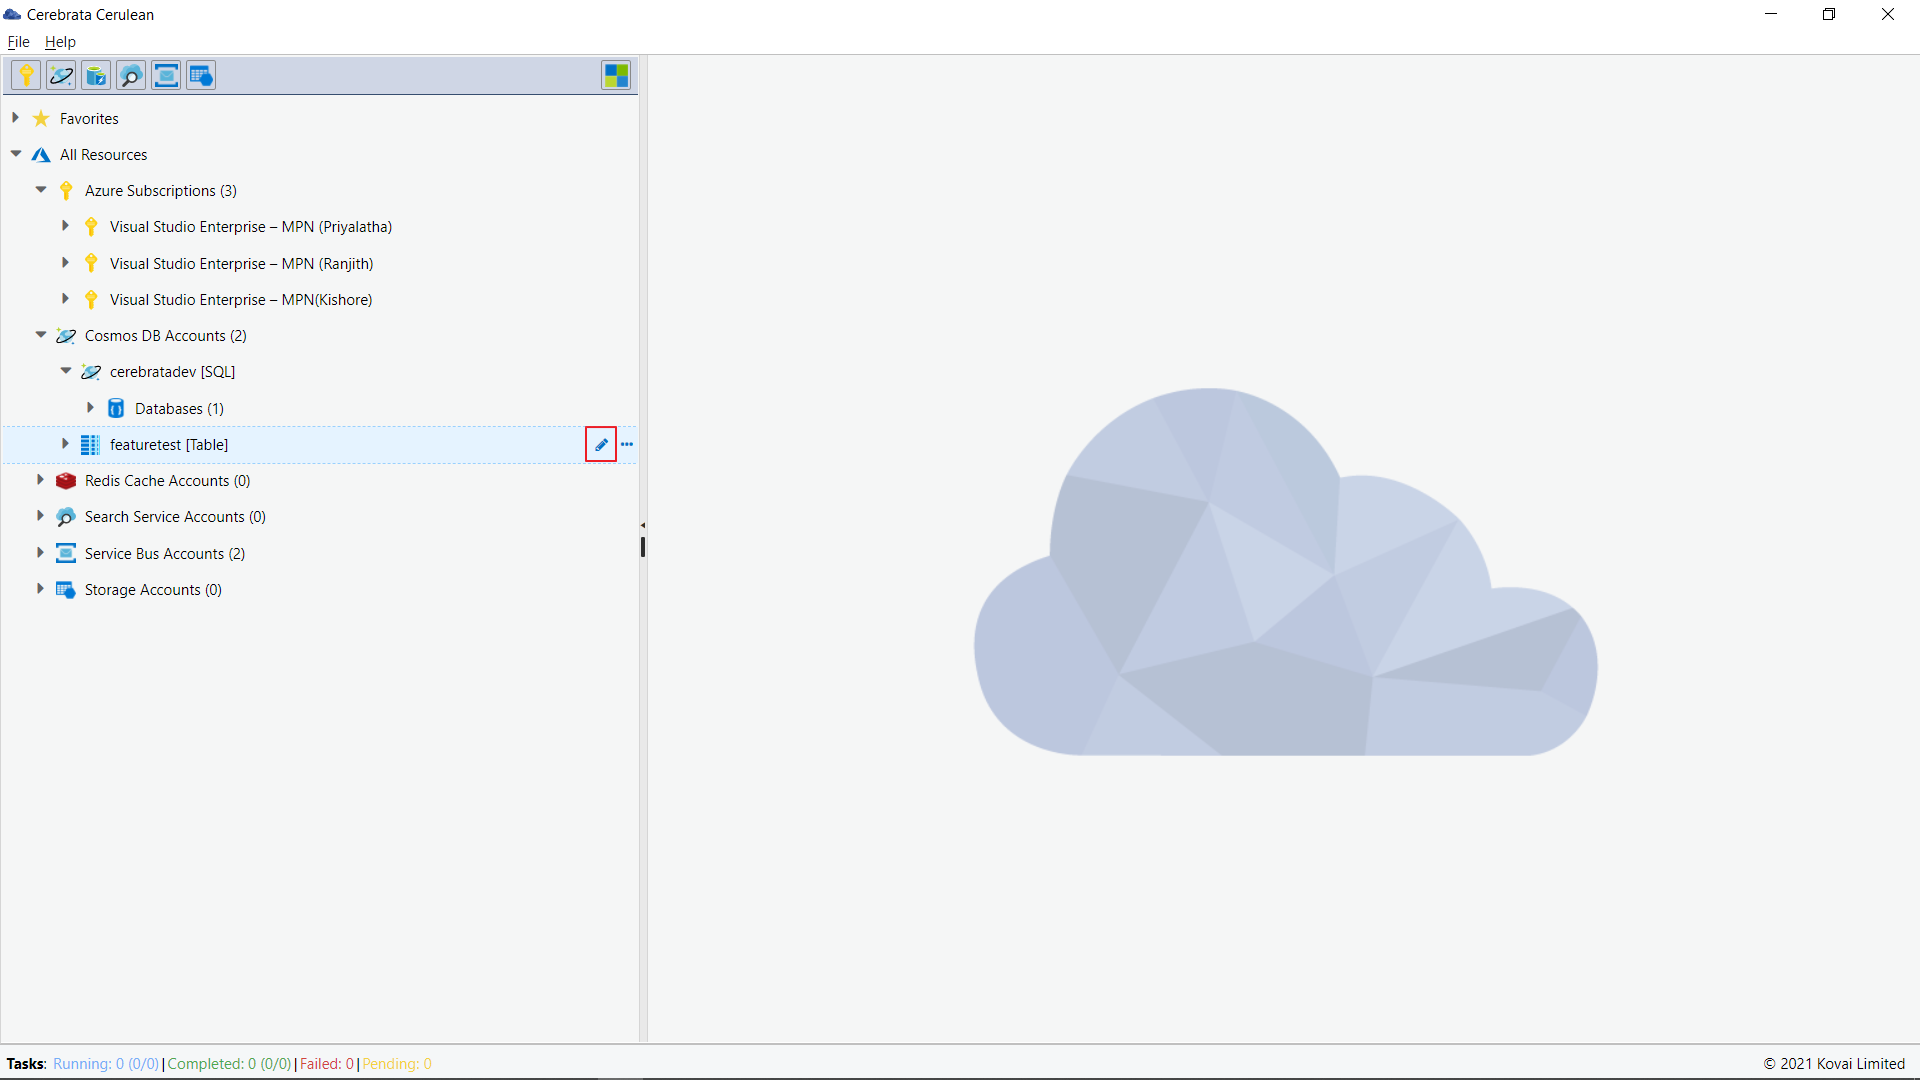
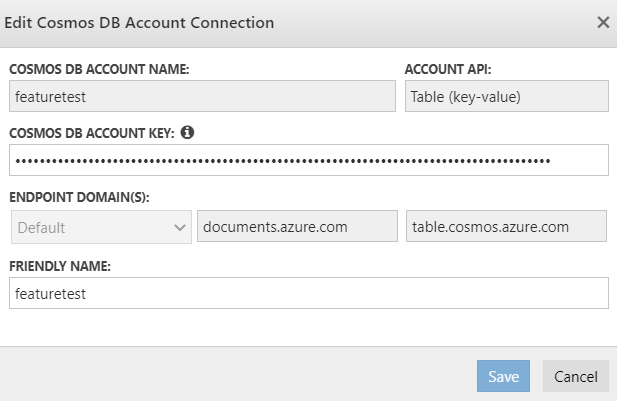
Edit Azure Cosmos DB Account Connection
For Cosmos DB accounts associated via the connection string, the User can edit the Cosmos DB account key. User can edit any friendly name given to the Cosmos DB Table by clicking on the Edit button(or Crtl+E).
CRUD Operations in Azure Cosmos DB Table
From Cerebrata user can perform CRUD operation on the table entities
Create Database
A new database can be created right from Cerebrata Cerebrata using the New Database option.
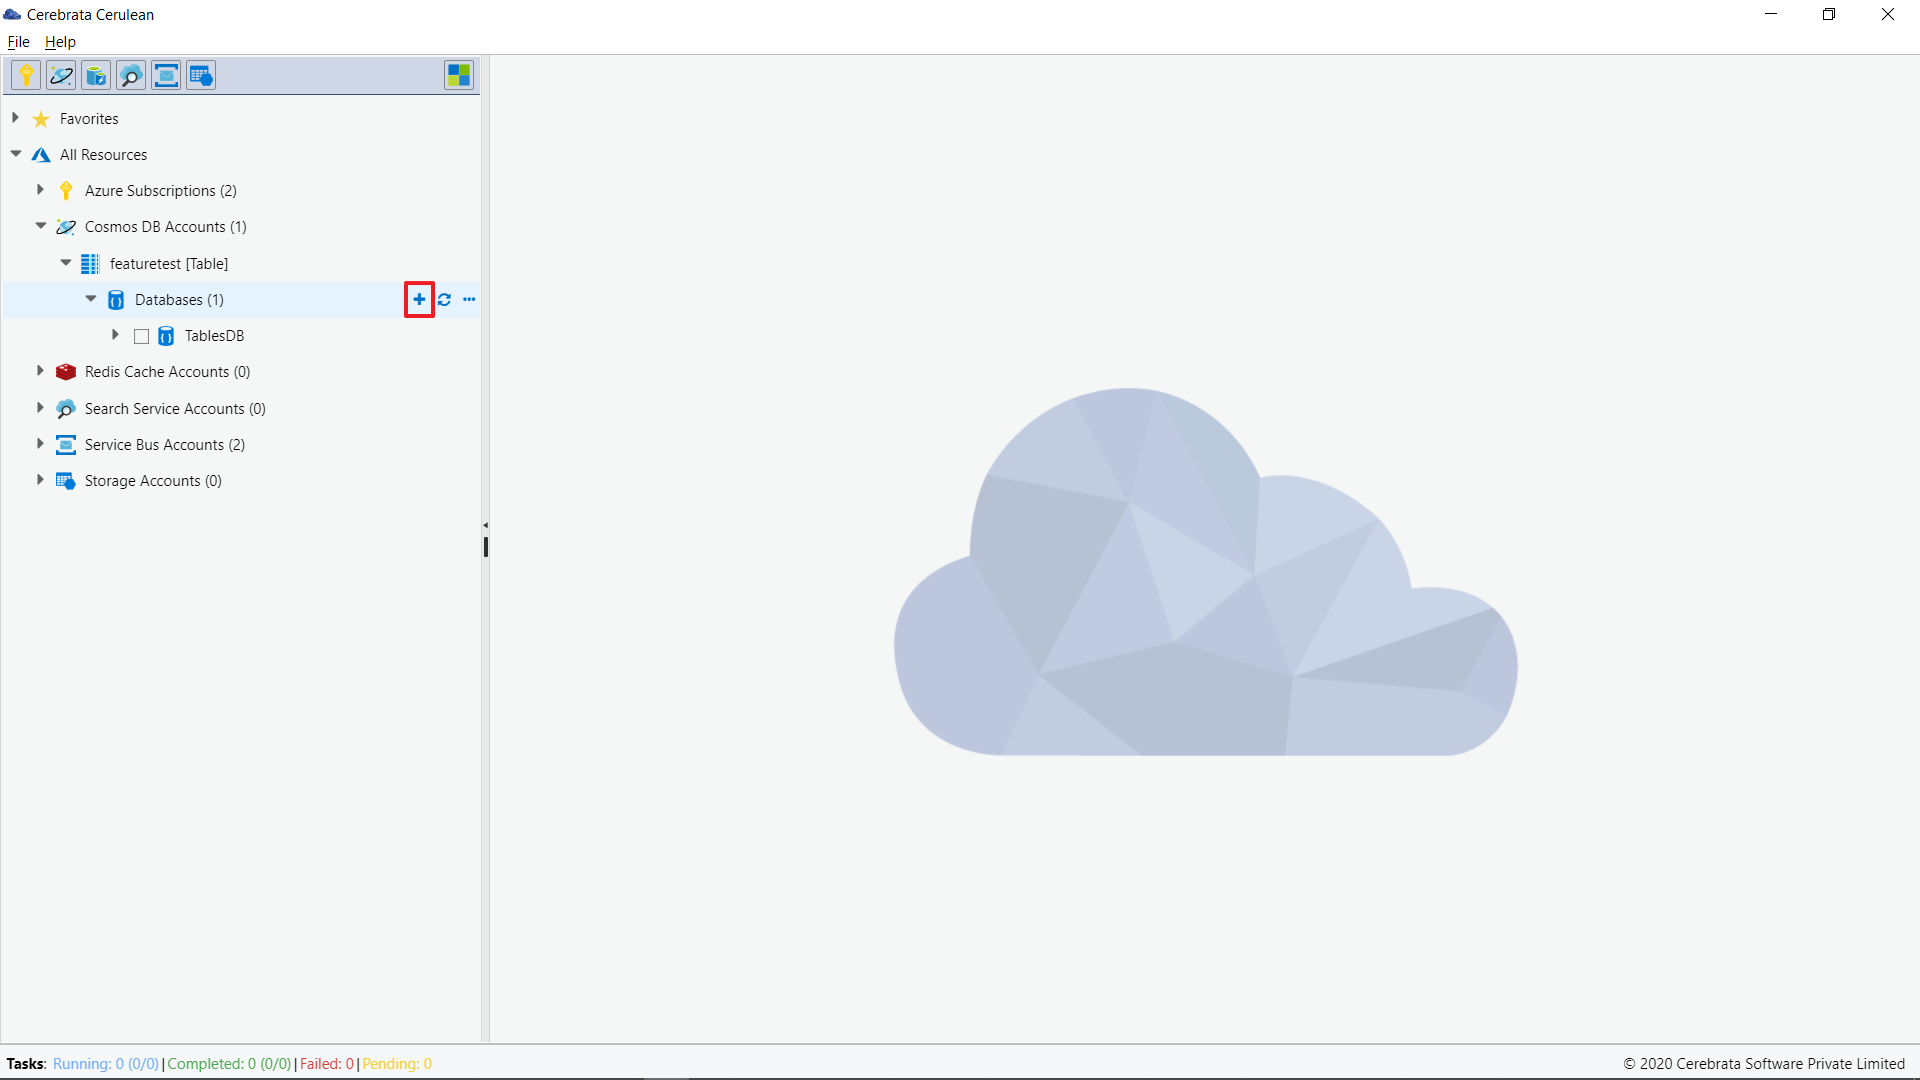
NOTE
There can be only one Database inside a Cosmos Table account.
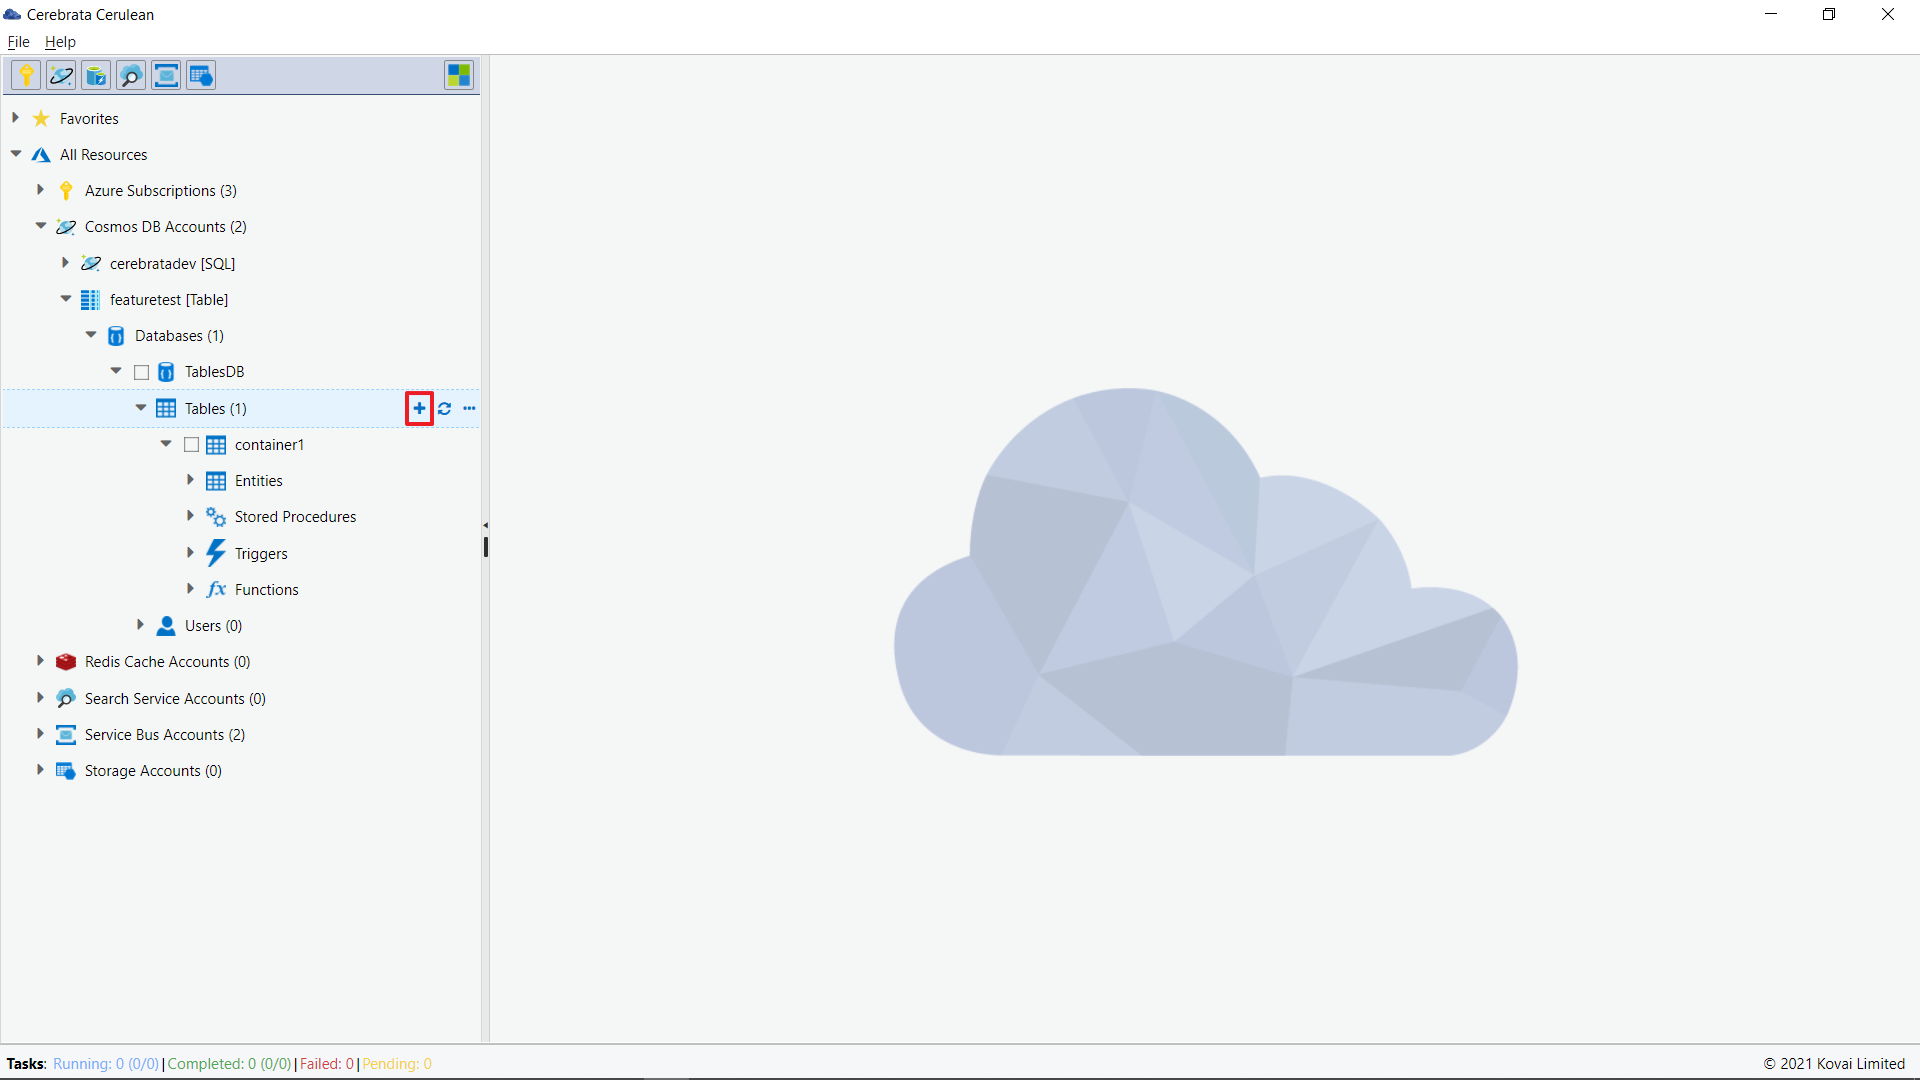
Create Table in a DB
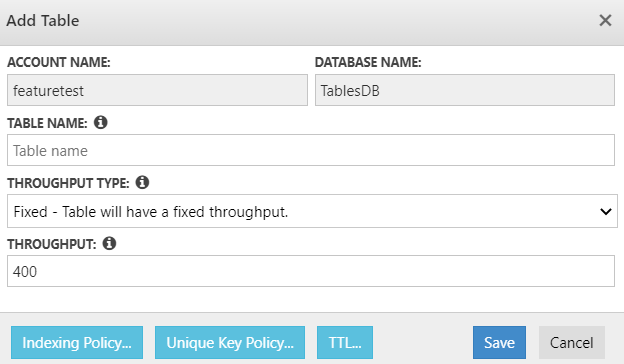
A new table can be created inside an existing DB right from Cerebrata using the New Table option.
In the popup, the user can provide the table name, throughput type, throughput and click on save.
User can also create an Indexing policy, Unique Key policy and add TTL config details.
Create Entities, Stored Procedures, Triggers, Functions
User can create entities, stored procedures, triggers and functions from Cerebrata using the new icon.
User can also create a user from Cerebrata.
Settings
The user can enhance the management part of Table API in Azure Cosmos DB with Cerebrata's settings. To leverage these settings,
- Navigate to Files > Settings > Application Settings > CosmosDB Settings.
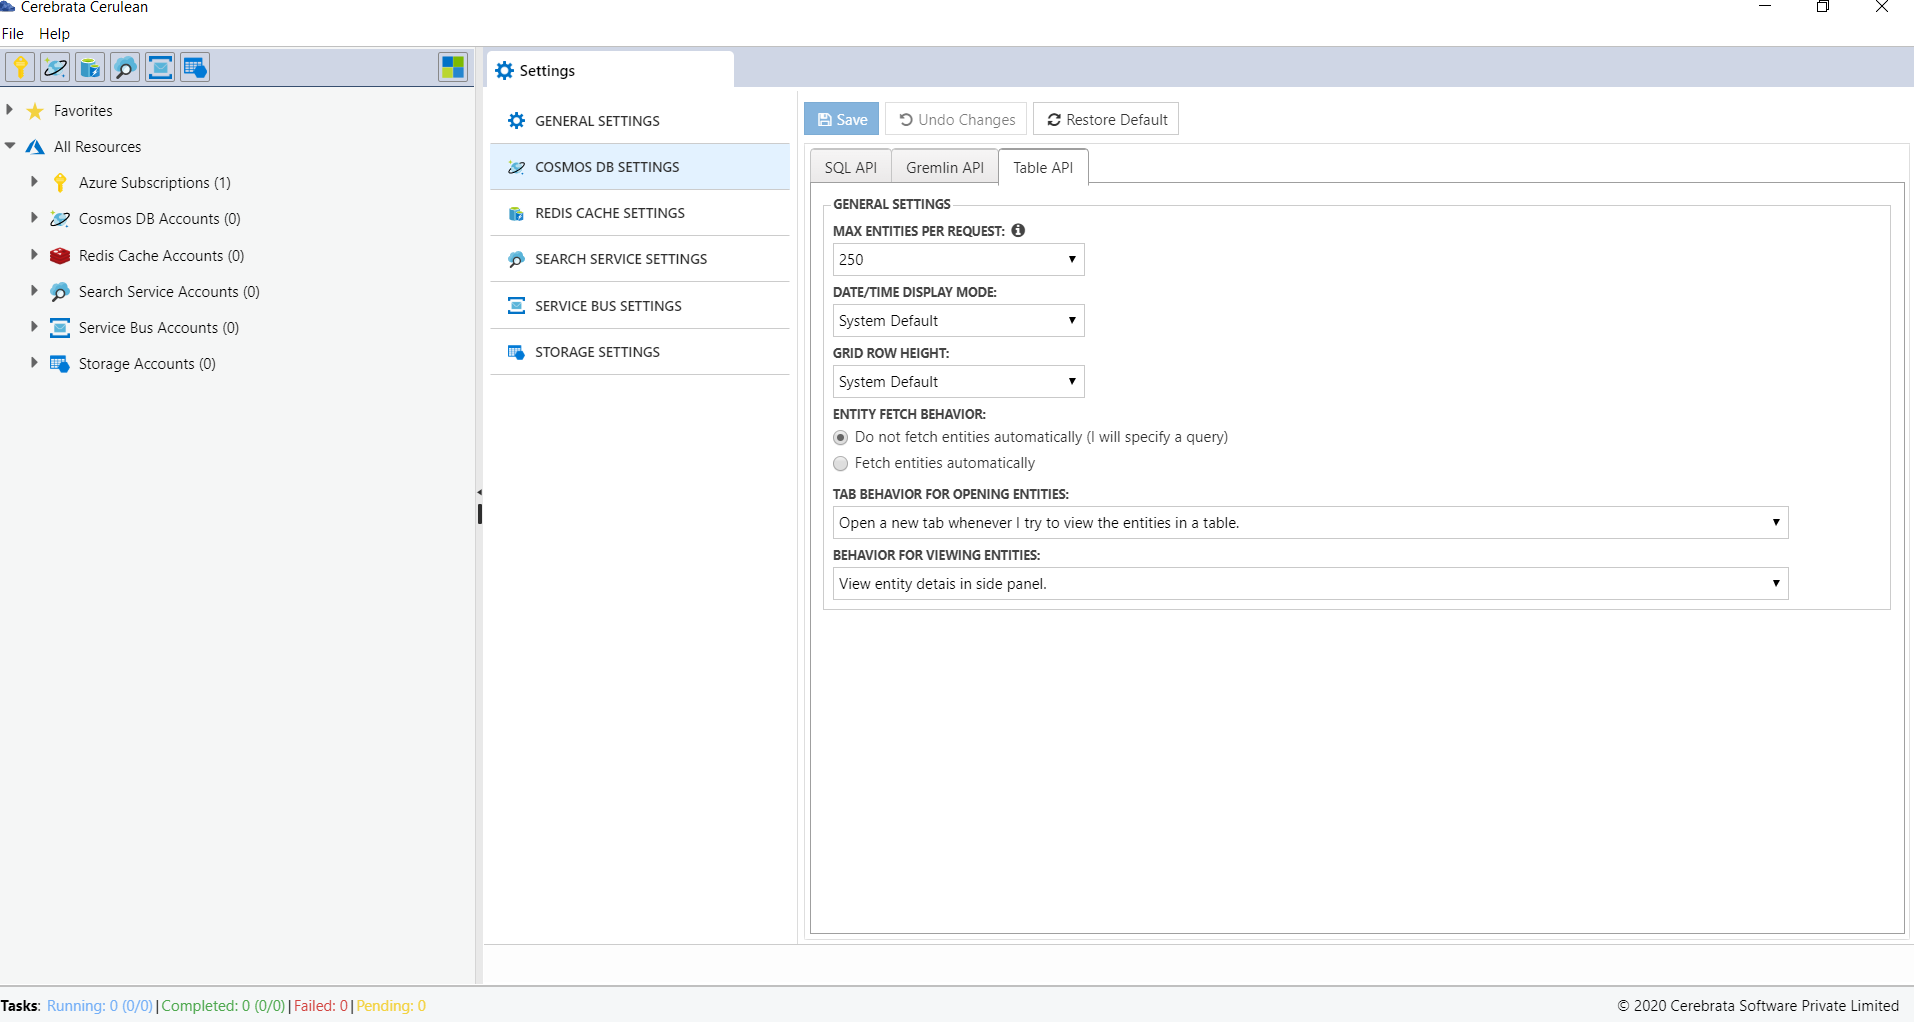
- User can define the maximum number of entities to fetch from a table in a storage account in a single request. The value provided must be greater than zero and less than or equal to 1000.
- Fetch the entities either automatically or by providing query by utilising the Entity Fetch Behaviour option.
- Set Tab Behaviour for opening entities and Behaviour to view the entities in different panel views.
Was this article helpful?