Service Bus Namespace Management
- 16 Sep 2021
- 4 Minutes to read
- Contributors

- Print
- DarkLight
- Download PDF
Service Bus Namespace Management
- Updated on 16 Sep 2021
- 4 Minutes to read
- Contributors
- Print
- DarkLight
- Download PDF
Article summary
Did you find this summary helpful?
Thank you for your feedback!
Overview
Cerebrata provides the most comprehensive features when it comes to managing your Service Bus Namespaces. You can connect to your Azure Service Bus Namespaces in multiple ways (Azure AD, Access Keys) and manage the account.
Cerebrata provides basic management capability for your Azure Service Bus Namespaces. For example, you can manage the access keys for your account and the shared access policies.
Add Service bus Namespace
User can add their Service Bus Namespace either with Connection string or with Subscription Connection.
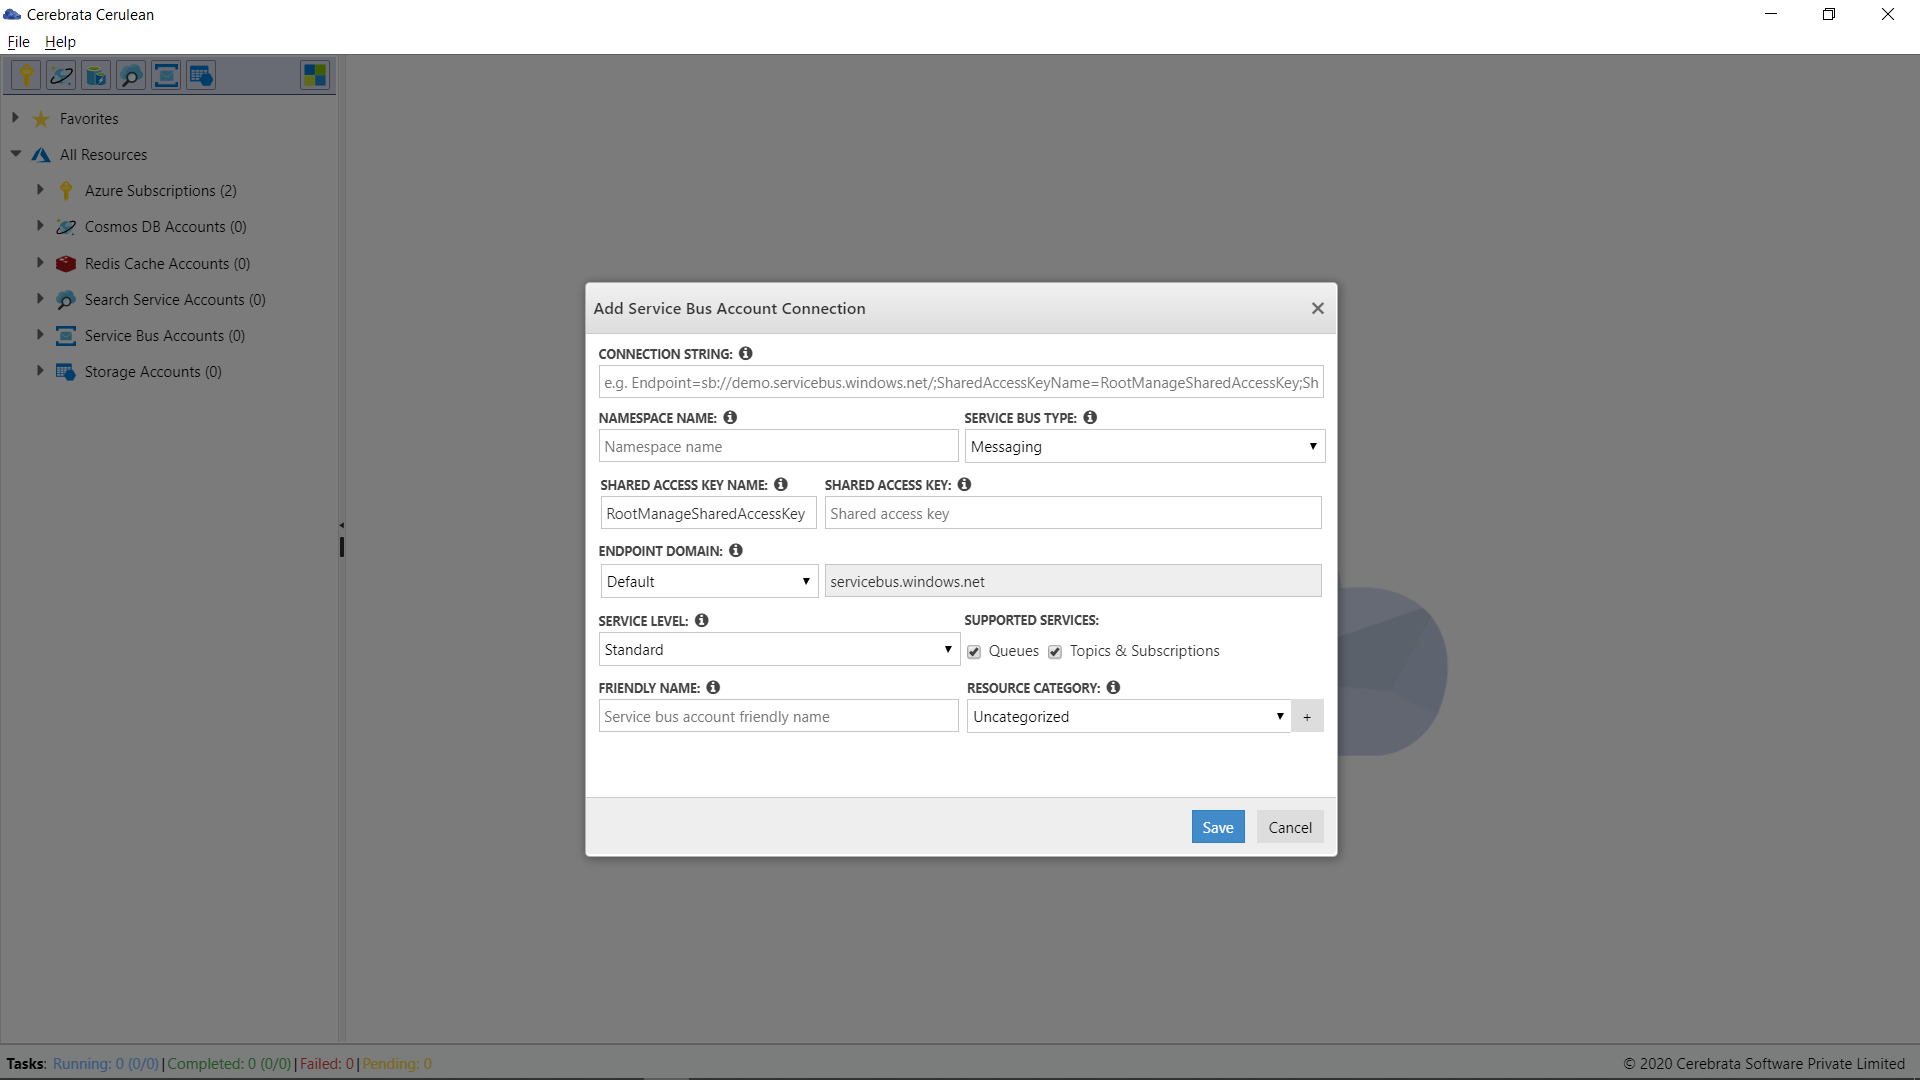
Add Service Bus namespace with Connection String
This is the connection string of your Service Bus Namespace. The application will try to parse the connection string to extract the necessary information.
To add a Service Bus Namespace with a connection string, follow the below steps.
- On the left blade click on the New Service Bus Account Connection aligned with the Service Bus Accounts
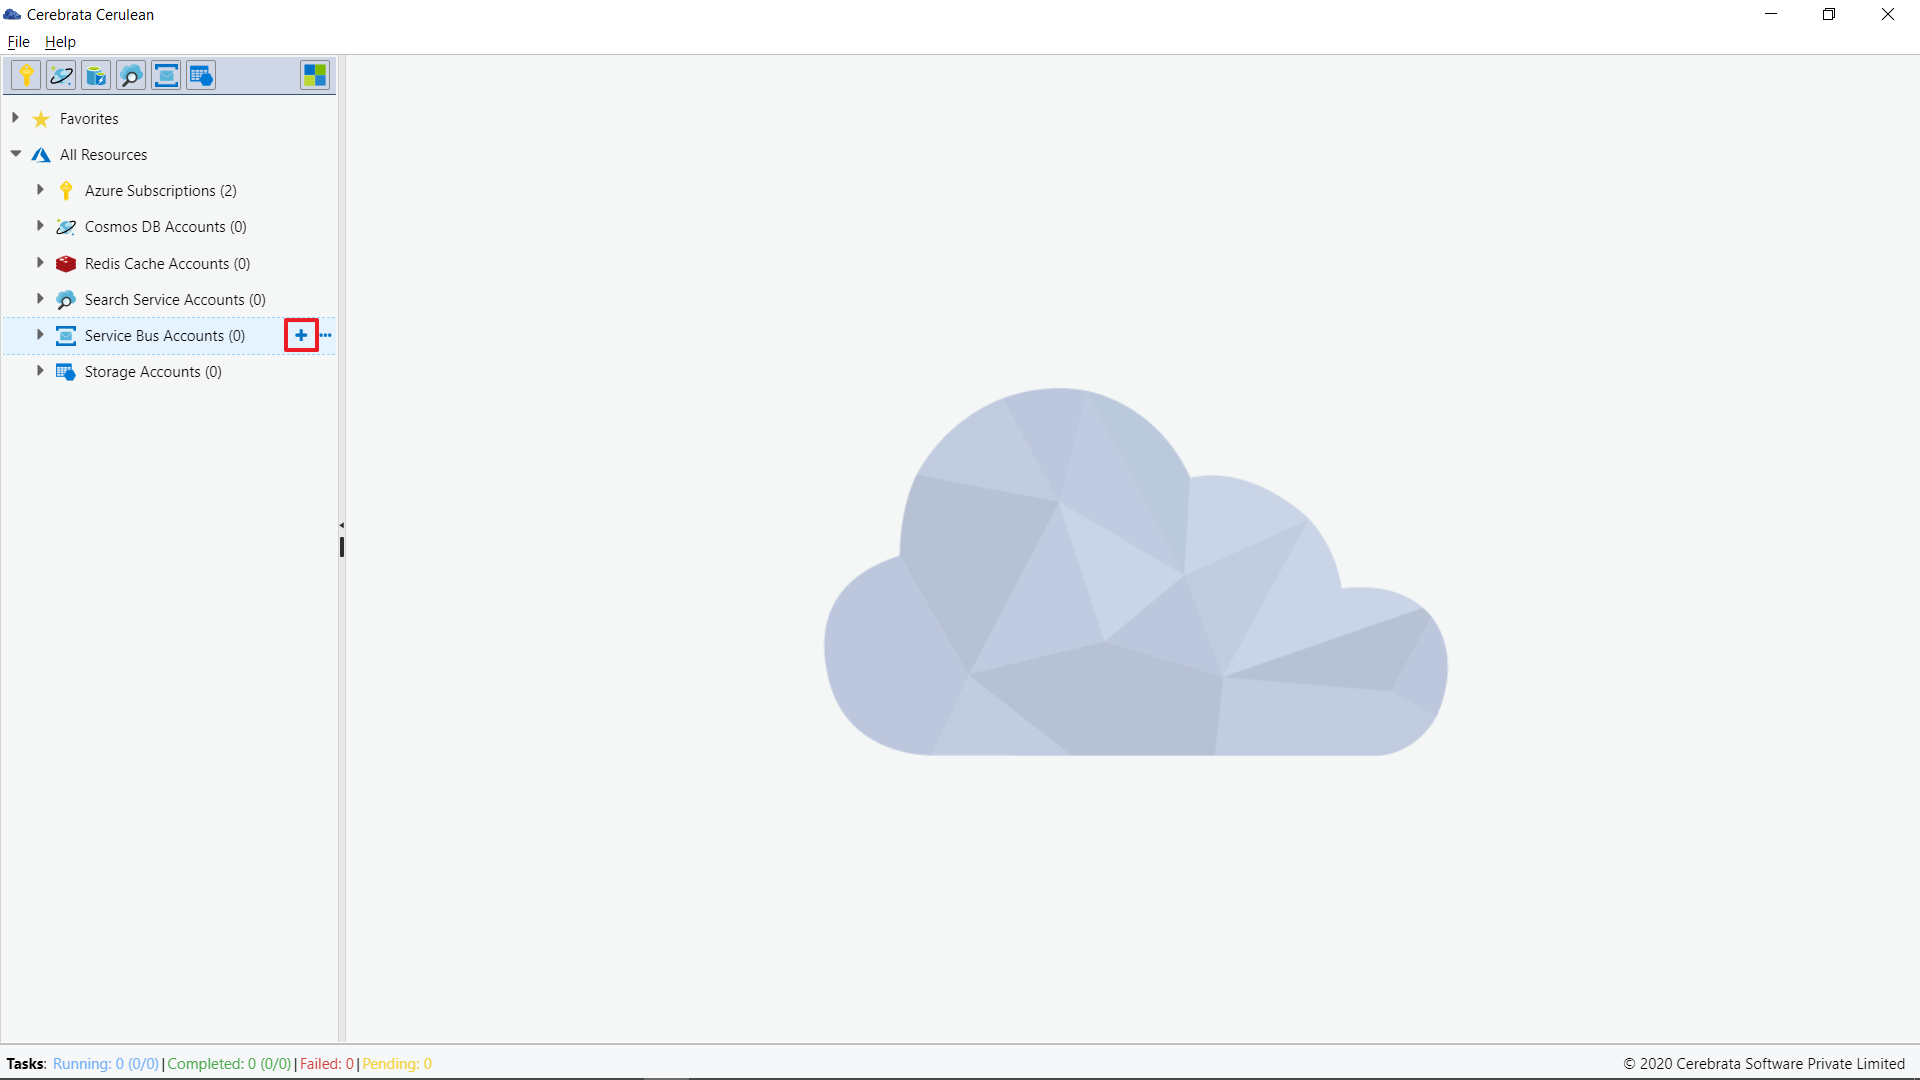
- In the popup click on Next
- In the window, add the connection string details and provide a friendly name for the connection and click on Save
In the same window, users can choose to manage and monitor Queues/Topics or both.
NOTE
While associating a namespace user can also group resources according to the environments.
Edit Connection String
User can edit the connection string details by accessing the Edit option.
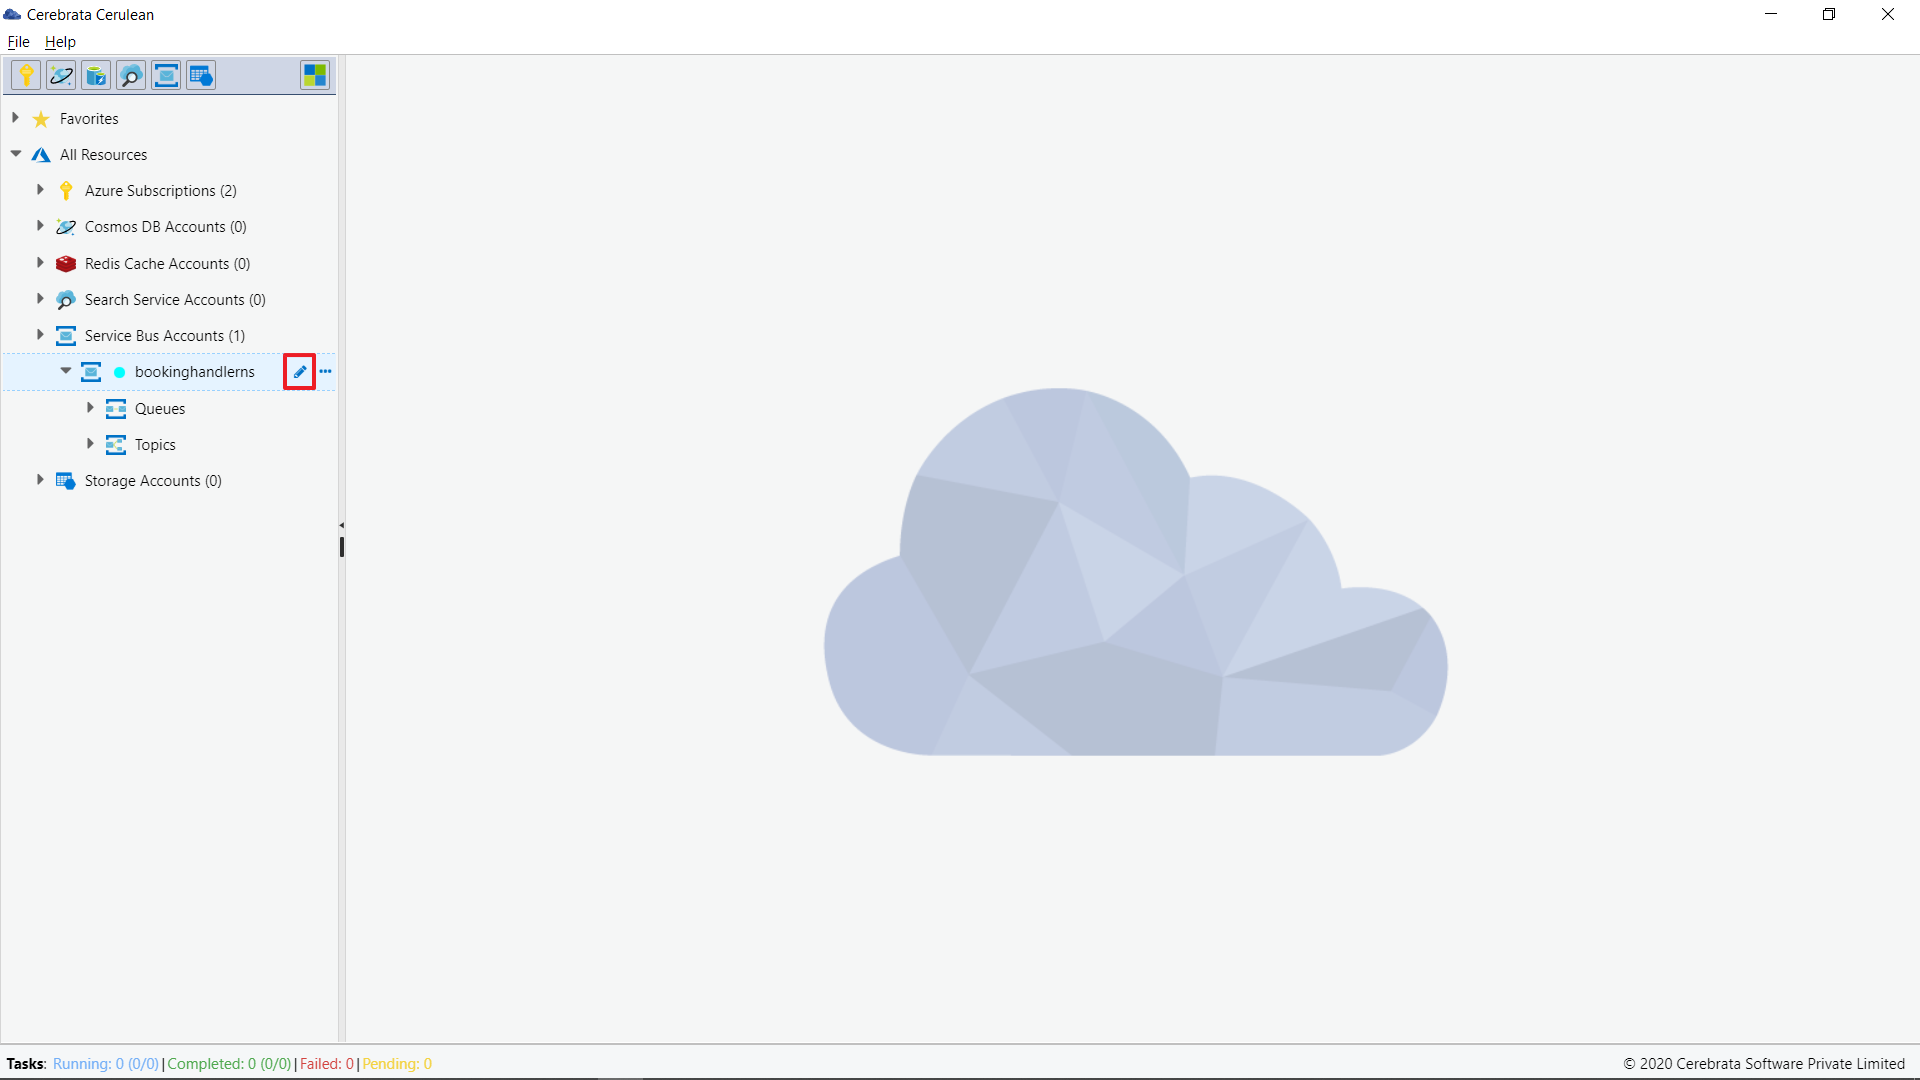
From the popped-up edit window, user can change the Shared access key, Shared access key name, Supported services (Queues/Topics&Subscription), Service level and friendly name of the connection string.
Service Level dictates the service supported or the features supported by the services
View Properties
Note
Properties of Service Bus Namespace can be accessed in Cerebrata only if the namespace is associated via Subscription Connection.
To view the properties of the Service Bus Namespace.
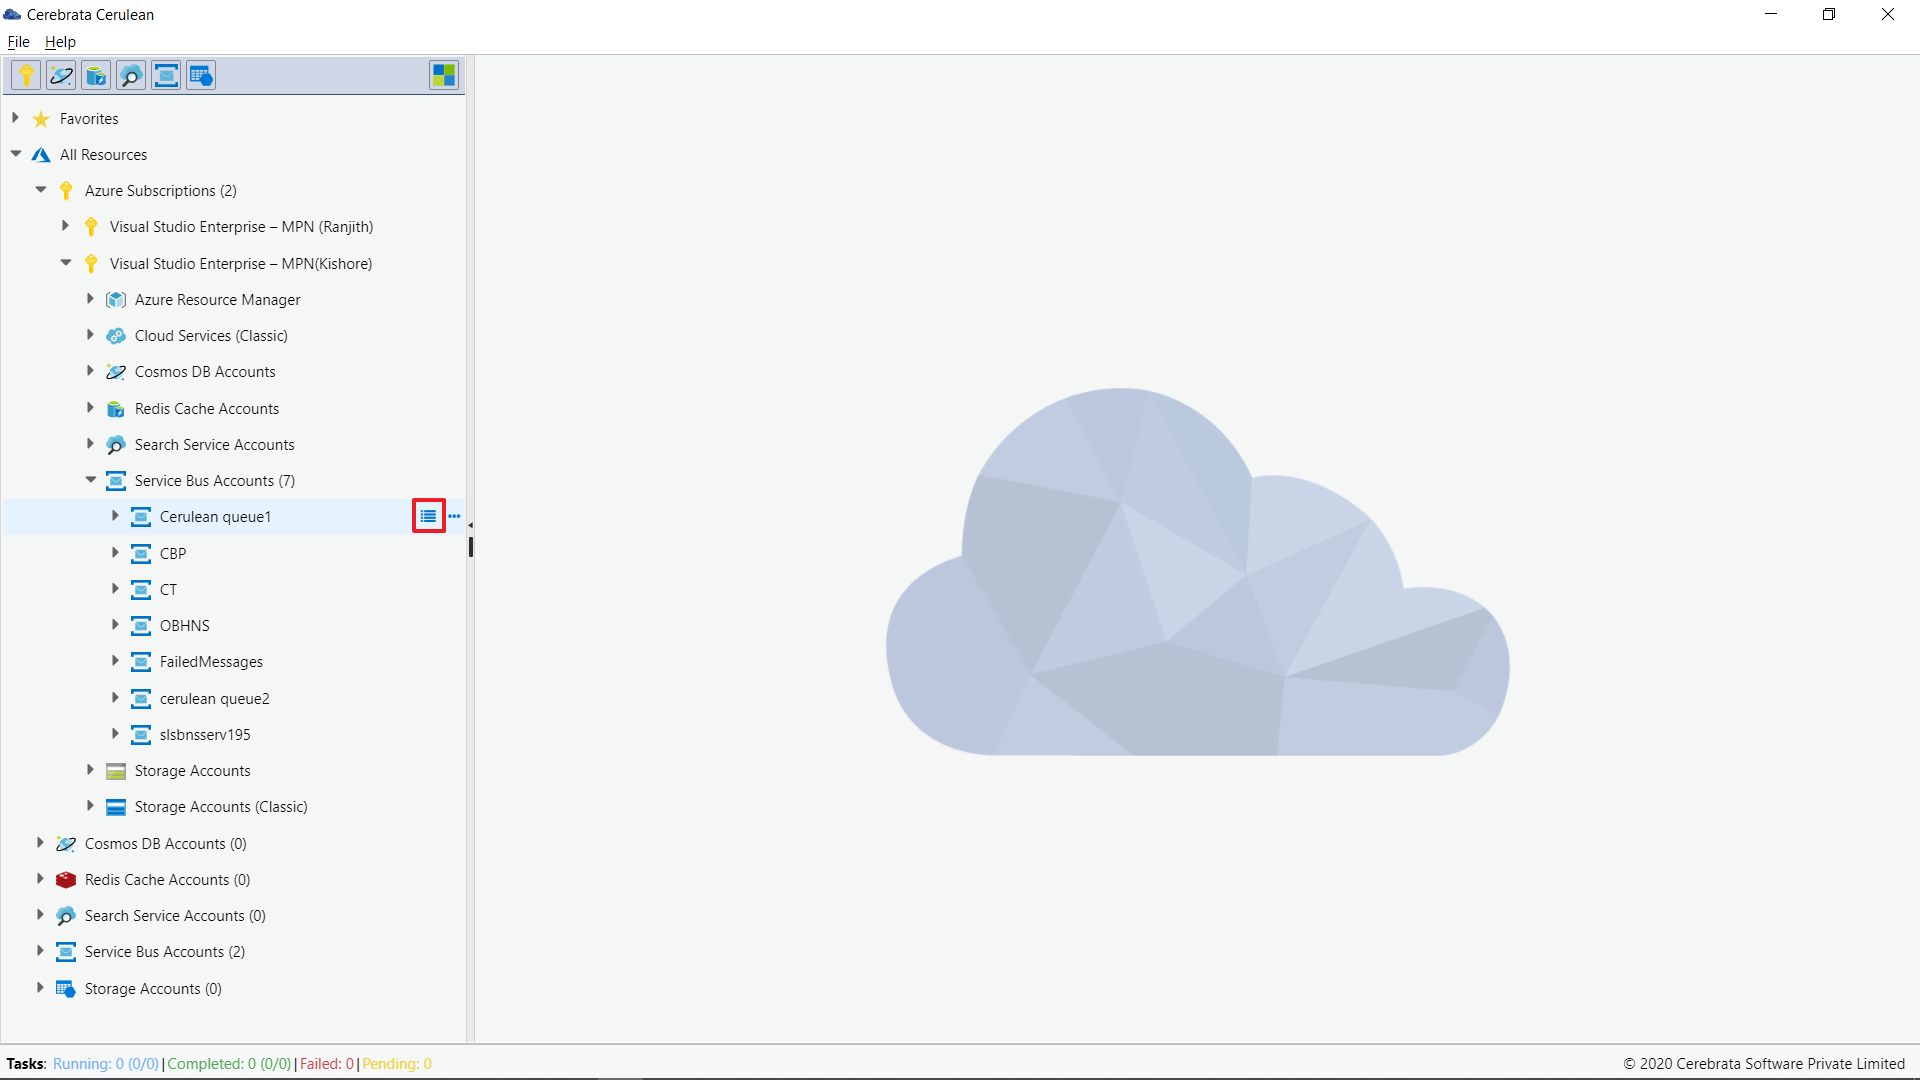
- User can traverse to the path - All resources > Azure Subscription > Required Subscription > Service Bus Accounts
- Now user has to click on Manage icon aligned with the Namespace name
User can view the following properties of Service Bus namespace.
- Service Bus name
- Resource ID
- Resource Group name
- Resource Group ID
- Subscription name
- Subscription ID
- Location
- Pricing Tier
- Status
- Provisioning State
- Endpoint
- Created Date/Time
- Last Updated Data/Time
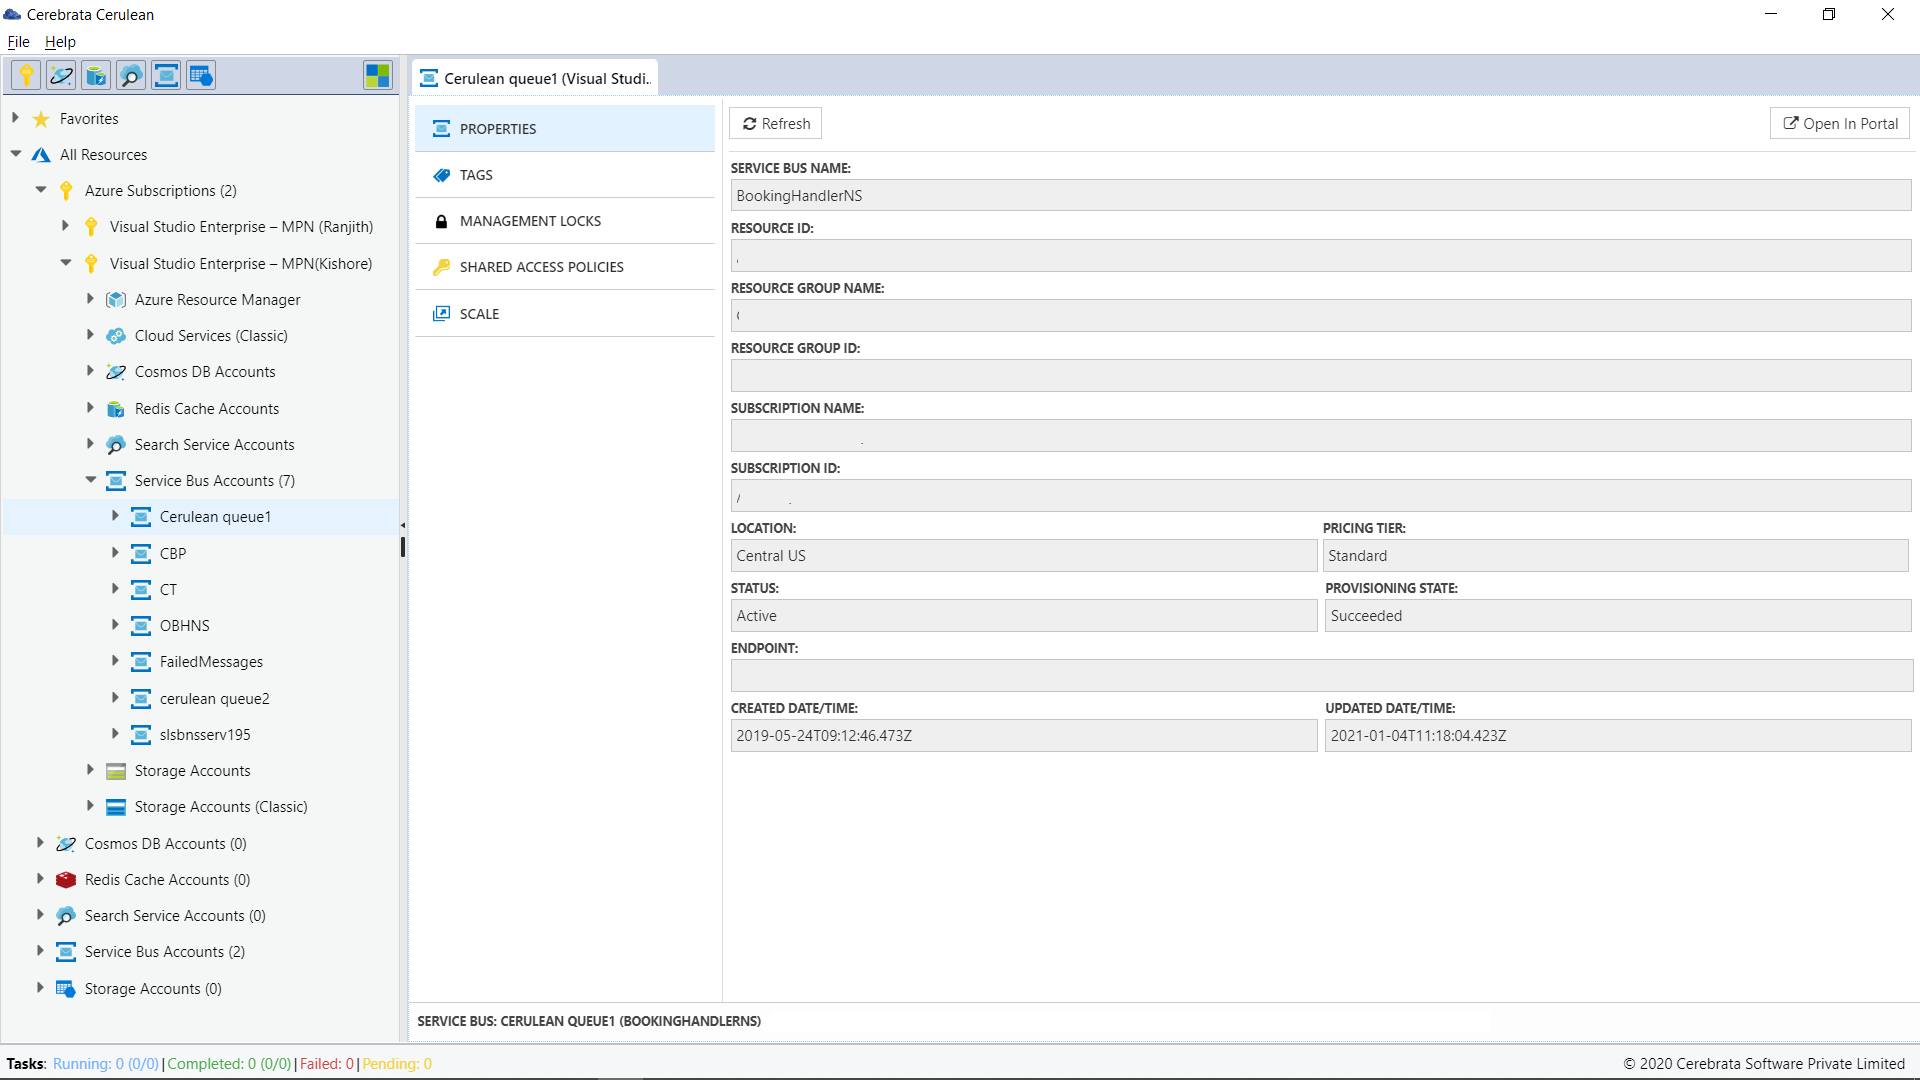
User can also open the appropriate Azure resource in the Azure Portal without traversing between the browser and the application using the Open in portal option available at the top right corner.
Manage Tags
Note
Tags associated with the Service Bus namespace can be accessed in Cerebrata only if the namespace is associated via Subscription Connection.
To manage the Tags associated with Service Bus namespace.
- User can traverse to the path - All resources > Azure Subscription > Required Subscription > Service Bus Accounts
- Now user has to click on Manage icon aligned with the Namespace name
- Select the tags option available in the new tab
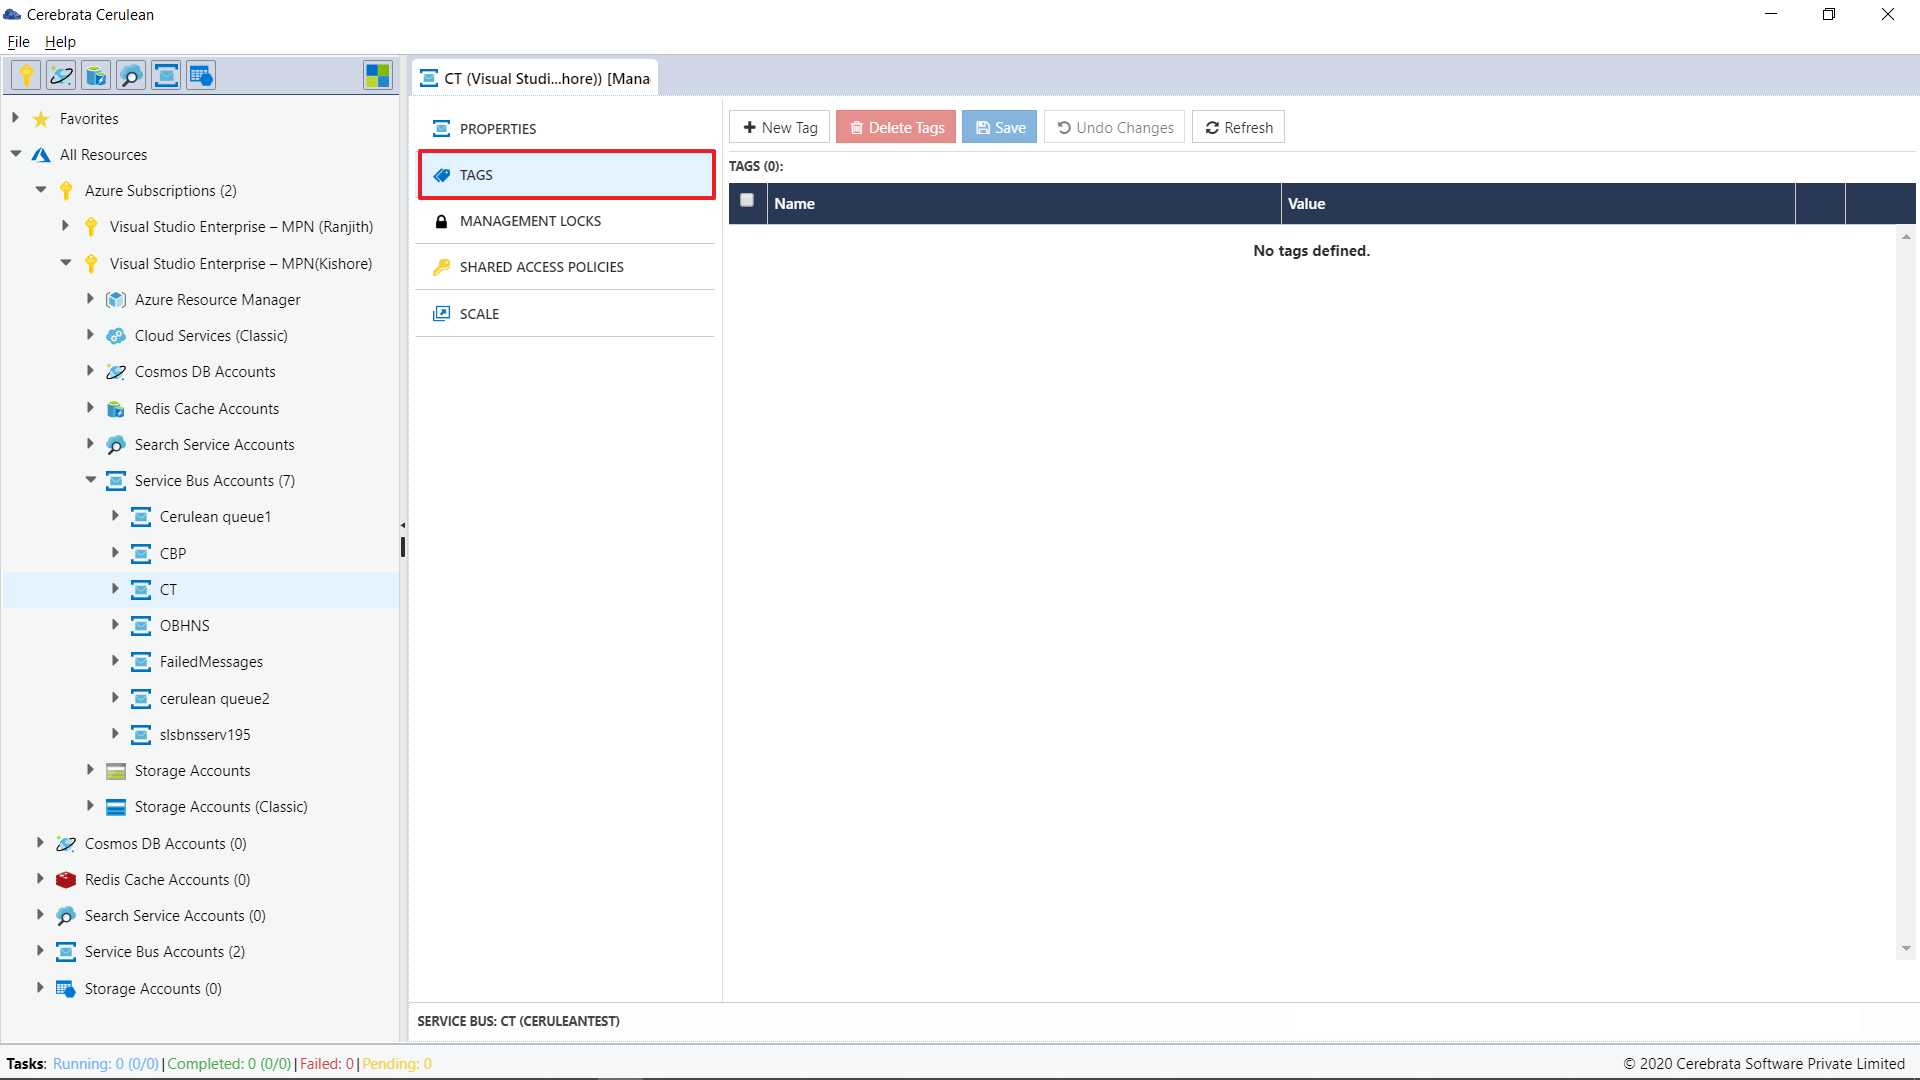
In this new tab, users can view/edit/delete an existing tag assigned to the selected namespace or create new tags.
To create a new tag, click on the New tag icon > provide the tag name and tag value and click on Save.
Manage Locks
Note
Locks on a Service Bus Namespace can be accessed in Cerebrata only when the namespace is connected with Subscription Connection.
To manage the locks on Service Bus Namespace.
- User can traverse to the path - All resources > Azure Subscription > Required Subscription > Service Bus Accounts
- Now user has to click on Manage icon aligned with the Namespace name
- Now User can click on Mangement Locks option to manage the locks
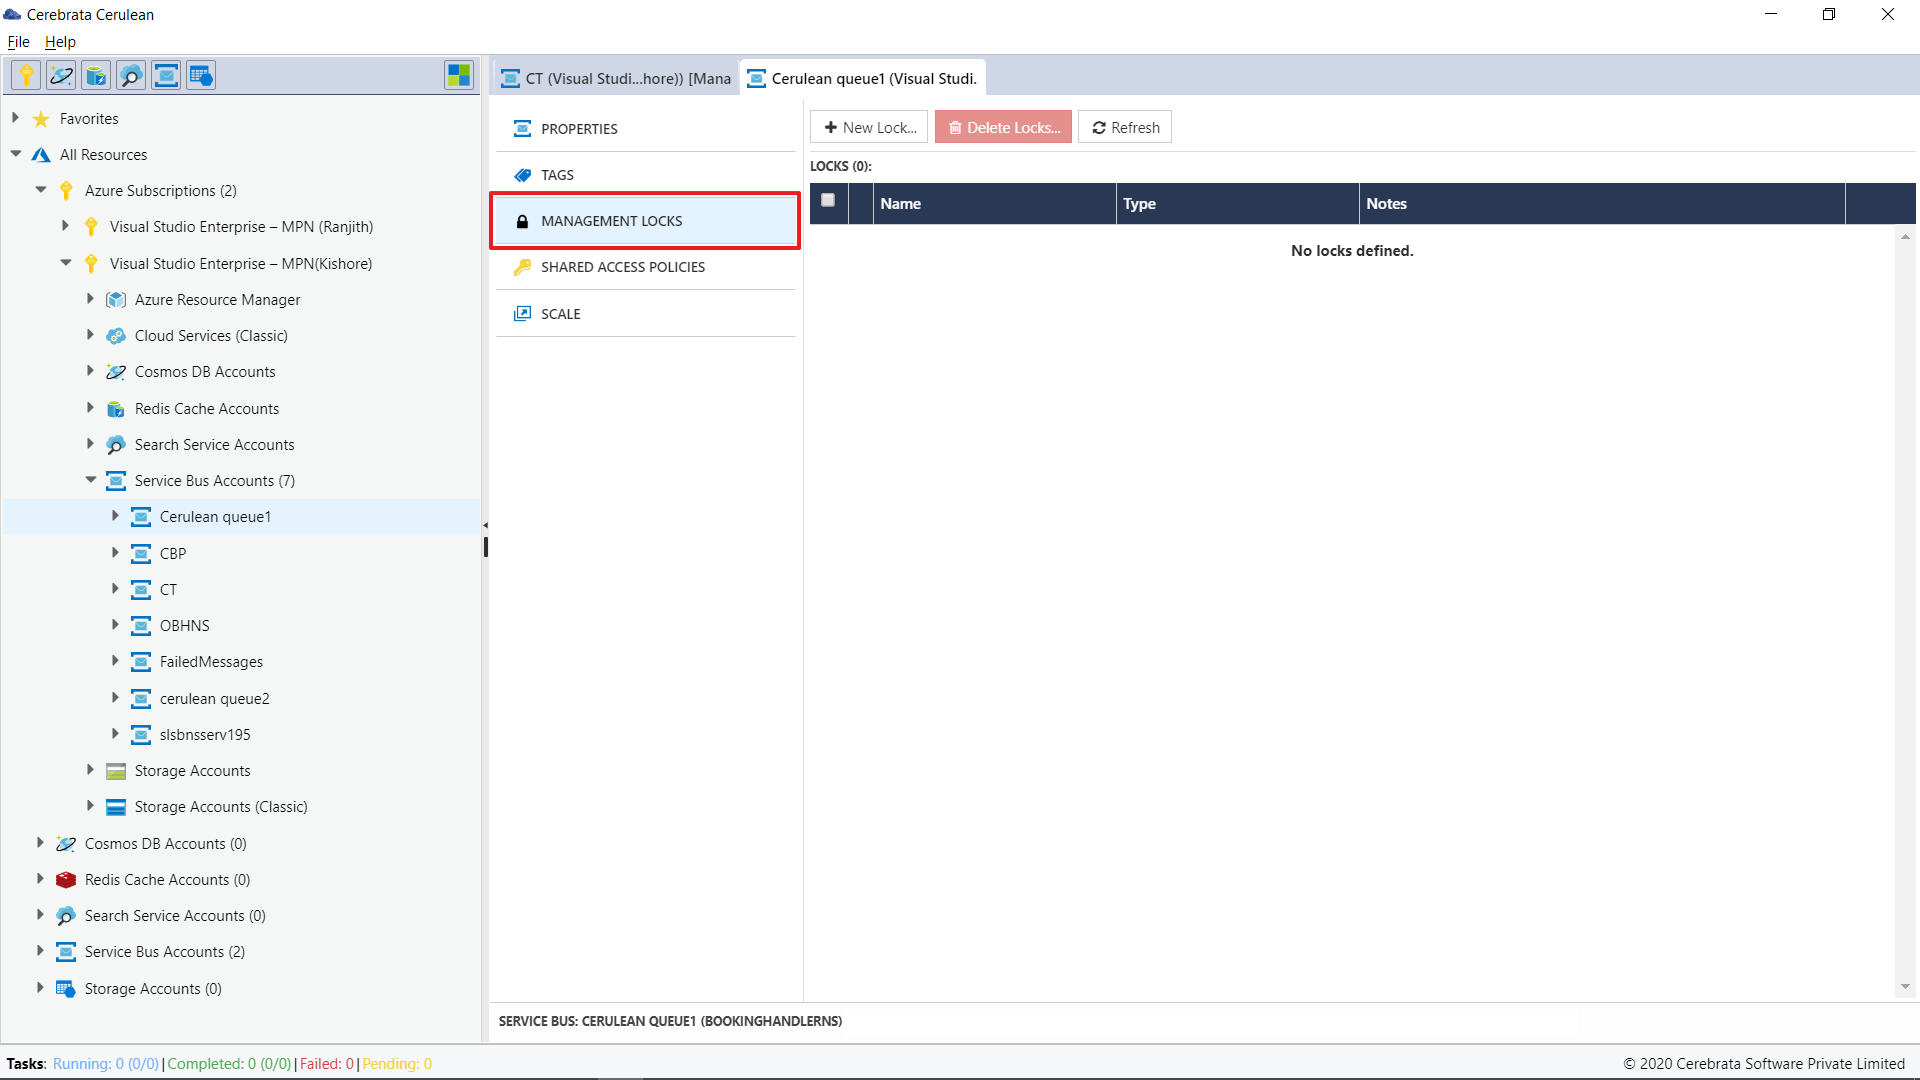
Create a new lock
User can create a new lock from Cerebrata with either Read-Only or Delete lock type.
- Read-only lock: Allows a user to perform only ready. Delete and Update access is denied
- Delete lock: Allows a user to read and modify a resource. Delete access is denied
- User can create a new lock on a Service Bus namespace, by clicking on the New Lock Icon
- In the popup user can provide a name for the lock and specify the lock type
- Clicking on Save will have the lock applied on the corresponding namespace
Edit or Delete a lock
User can delete an existing lock on a Service Bus namespace by selecting the lock and clicking on the Delete Lock Icon
User can also update or edit an existing lock by clicking on the lock name.
Manage SAS Policy
Note
Shared Access Policies of a Service Bus Namespace can be accessed in Cerebrata only when the Namespace is connected with Subscription Connection.
To manage the Shared Access Policies of the Service Bus Namespace.
- User can traverse to the path - All resources > Azure Subscription > Required Subscription > Service Bus Accounts
- Now user has to click on Manage icon aligned with the Namespace name
- Click on Shared Access Policies to manage them
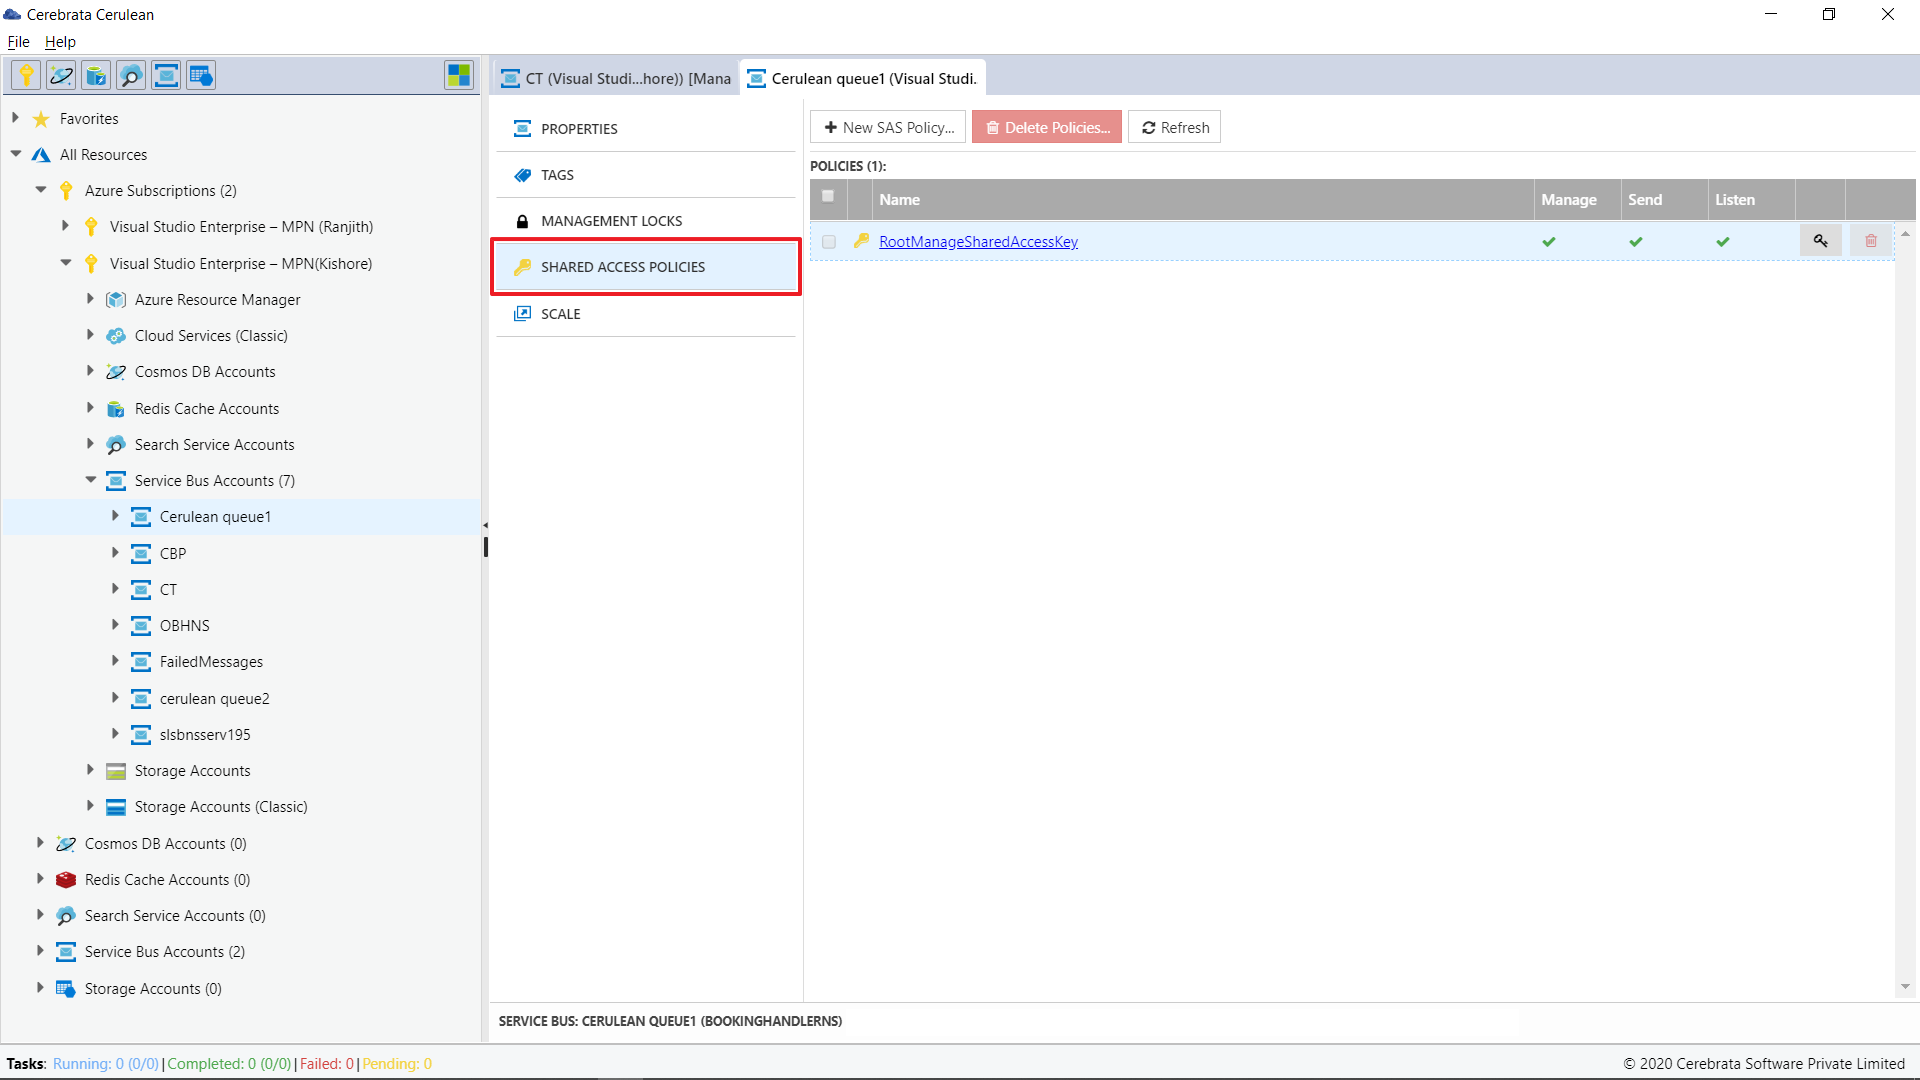
- Now the user will be displayed with all the SAS Policies created for the corresponding namespace
User can view the Primary key, Secondary key, and connection string details by clicking on the View Access Key icon placed at the SAS policy name's right.
User can also Create/Delete a SAS policy from Cerebrata.
User cannot perform Delete on the RootManageSharedAccessKey from Cerebrata
Scale
Note
Users can only change their Service Bus's tier only if the Service Bus namespace is associated via Subscription Connection.
To manage the Tier of the Service Bus namespace.
- User can traverse to the path - All resources > Azure Subscription > Required Subscription > Service Bus Accounts
- Now user has to click on Manage icon aligned with the Namespace name
- Now click on the Scale option available
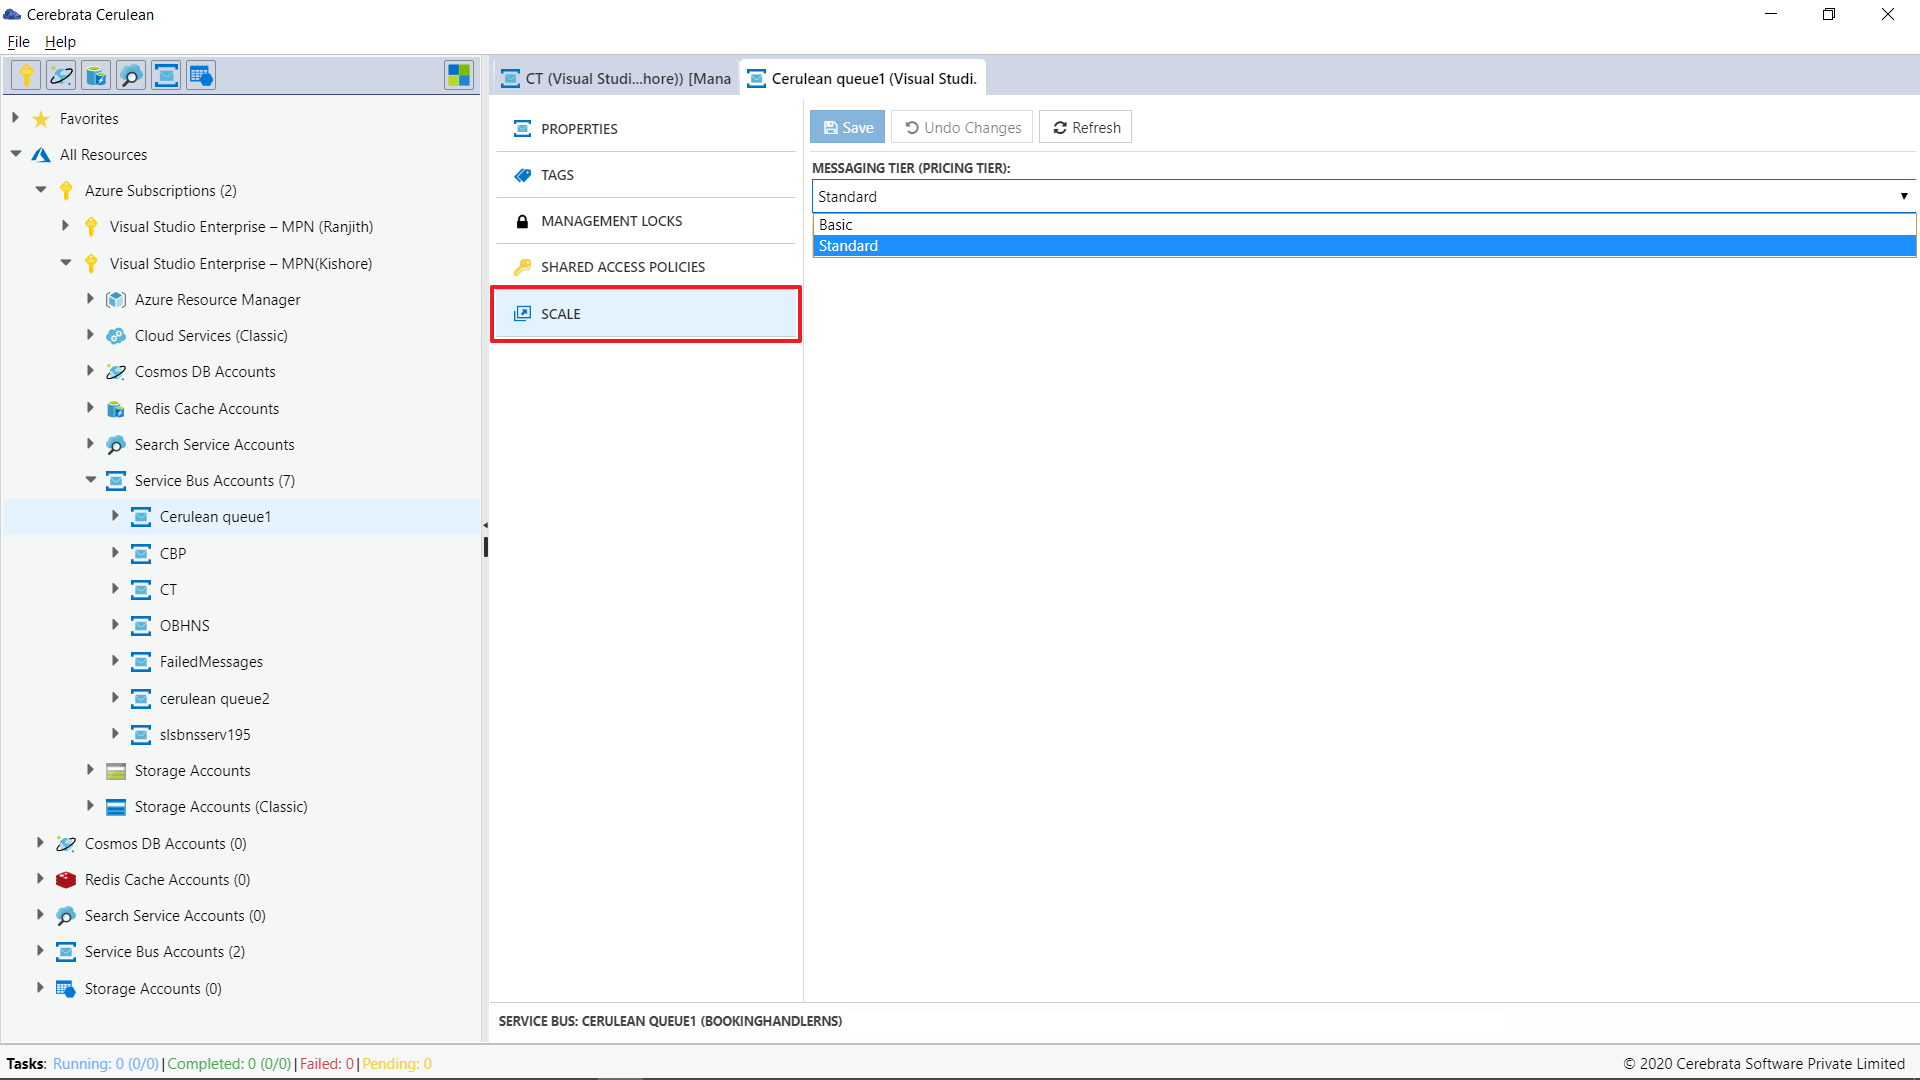
Through Cerebrata user can only upgrade or degrade their Service Bus namespace between Basic and Standard Tier
Was this article helpful?