Settings
- 24 Mar 2022
- 2 Minutes to read
- Contributors


- Print
- DarkLight
- Download PDF
Settings
- Updated on 24 Mar 2022
- 2 Minutes to read
- Contributors
- Print
- DarkLight
- Download PDF
Article summary
Did you find this summary helpful?
Thank you for your feedback!
Cerebrata houses an extensive batch of settings to manage the tasks efficiently at ease. Each Azure Service supported by Cerebrata has a dedicated set of settings to manage them. These settings from Cerebrata are highly customizable. You can customize almost every aspect of the application according to your preferences. The general settings of Cerebrata include,
General Application Settings
The primary and standard settings offered by Cerebrata for all the Azure Services are,
- Ability to view date/time in local or UTC.
- Ability to adjust or fix the grid row height of tables.
- Ability to Enable/ Disable numeric captcha for irreversible operations. For example, you can enable this to avoid accidental deletion.
- Ability to sign out from all Azure Subscriptions when the application exits.
Background Tasks Logging
The Task is another unique feature of Cerebrata where long-running operations like blob uploads, downloads etc., are executed via out-of-process background tasks to impact the UI from these tasks will be minimal.
1.Log these tasks and monitor the progress of these tasks with the detailed view of logs collected.
2. Also, fix the retention period up to seven days for these background task logs.
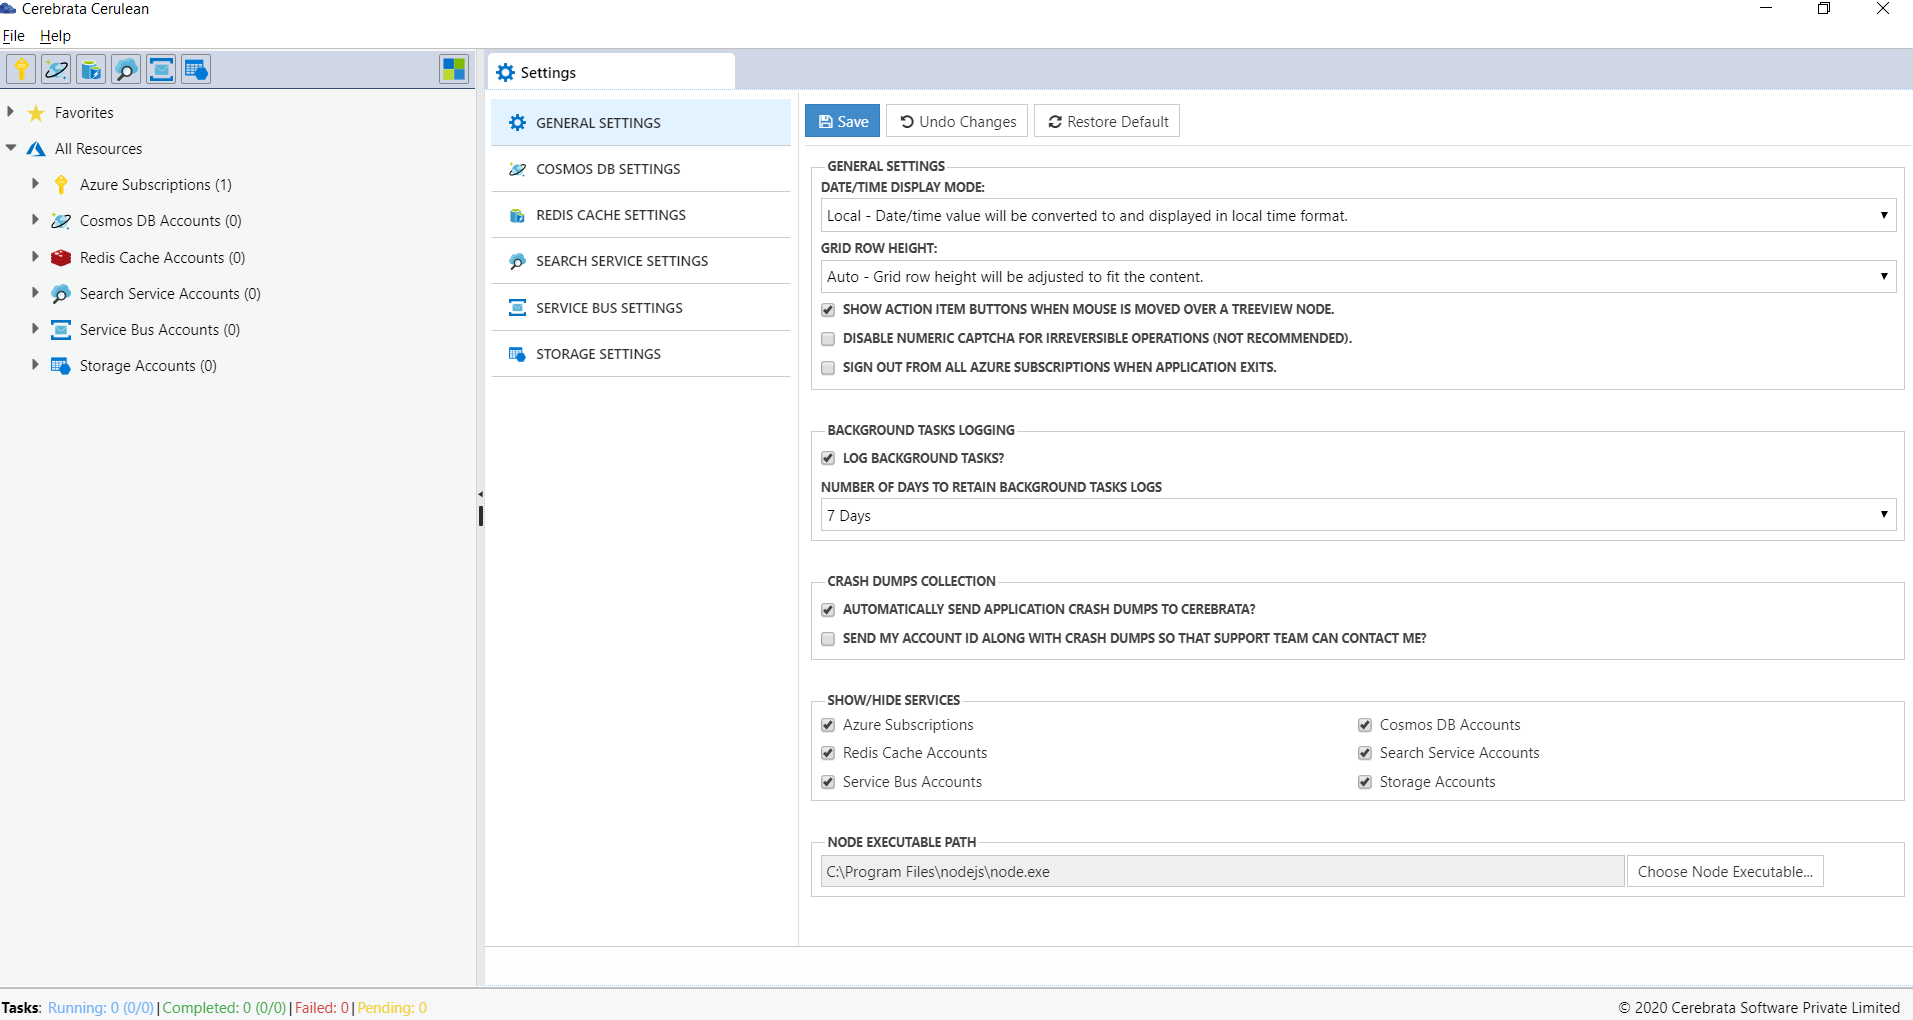
Crash Dumps Collection
When you send extensive data or perform any migration activities, there are high chances for a crash. In such instances,
- Enable Automatically send crash dumps to Cerebrata option to notify your team to get alerts on crash without manual intervention.
- Also, you can enable the send account ID along with the crash dumps option so that the support team can directly contact you.
Apart from these general settings, you can have a hassle-free work platform by hiding the Azure Services you are not working on.
Proxy Settings
Cerebrata enables users to connect to their Azure resources from behind a proxy server. Below are the steps to save the proxy settings,
- Navigate to Files > Settings > Proxy Settings
- Use Proxy Server can be enabled if the user connects to the internet via a proxy server. The user will be requested to provide proxy server protocol, server address and server port.
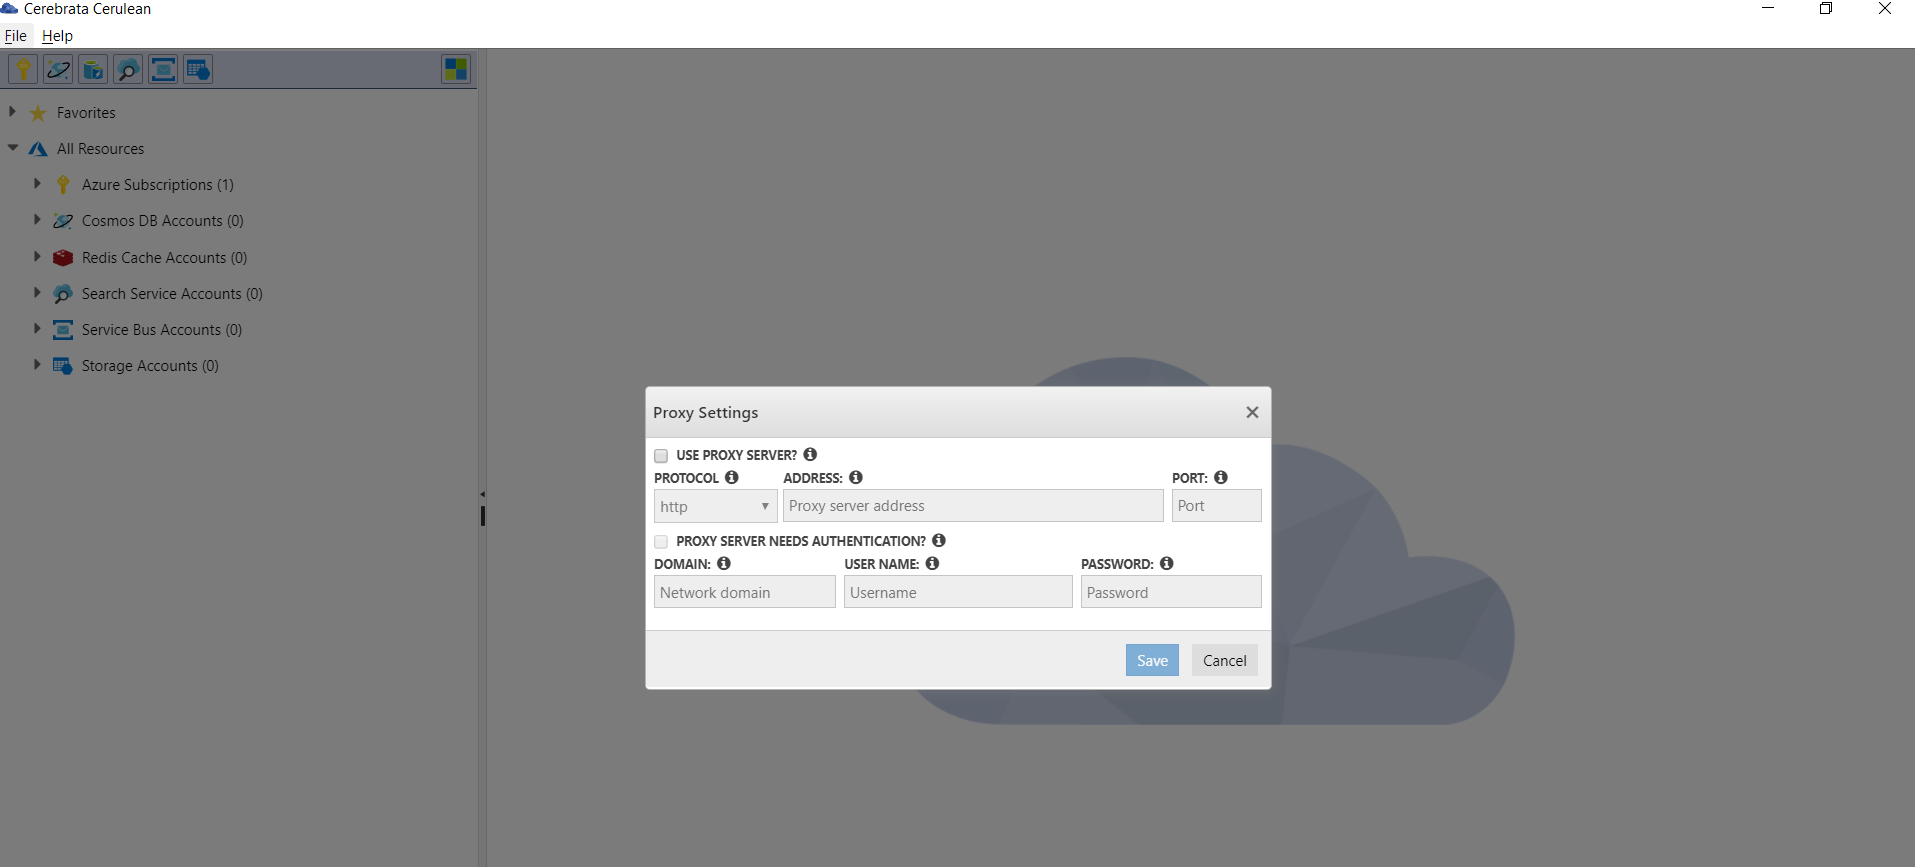
- Also user can enable the Proxy Server Authentication if the proxy server requires them to provide username/password. User can add in their network domain, username, passsword and save their proxy settings in Cerebrata.
Import & Export Settings
Cerebrata can help users Export and import the user settings.
- Export Settings
The settings file can be exported in C:\Users\KOVLTP000\AppData\Roaming\Cerebrata\logs by default and if possible we can select any targeted folder and can be sent to other user, so that they can download this user settings file and get the same settings. - Import Settings
User can download the exported user settings file or other .usersettings file from the folder and can be imported to get the same settings
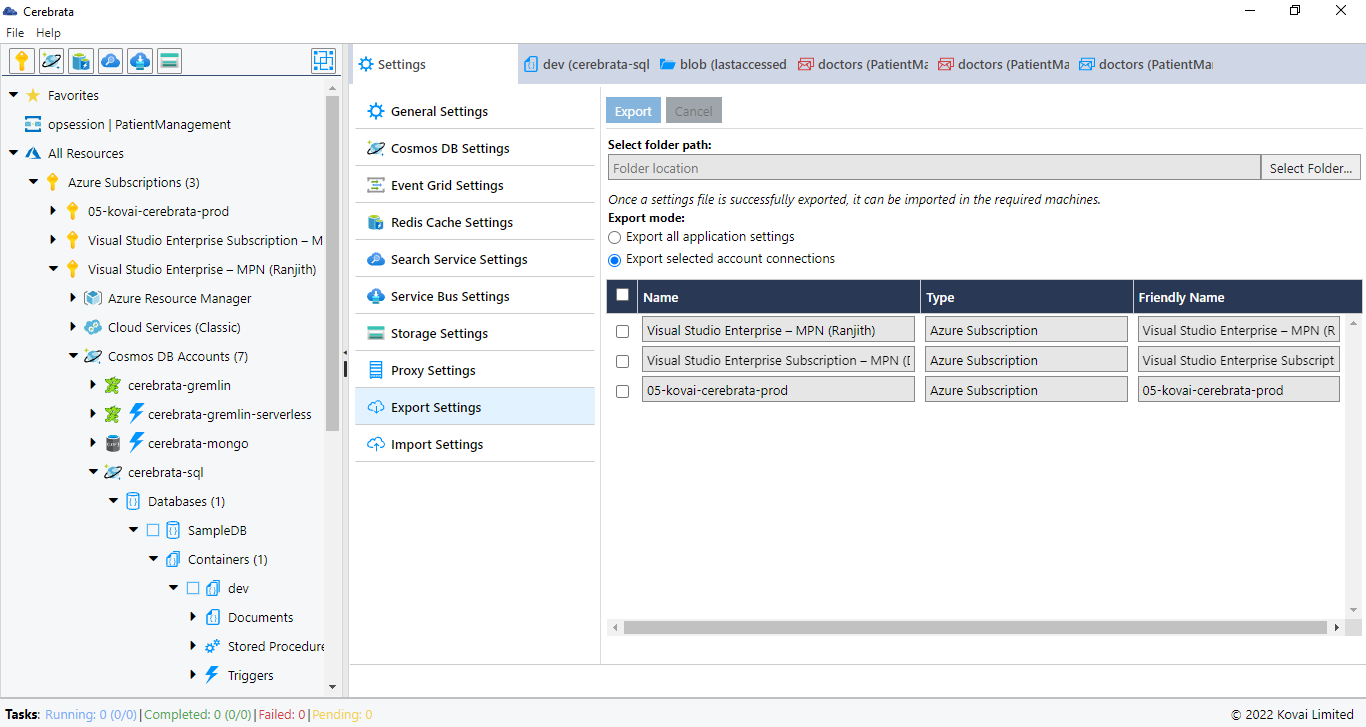
Export and Import Service Connections
- Export Service Connections
User can export the required service connections like Service Bus account connection, Storage account connection, Redis cache account connection, Search Service account connection and Subscription account connection from a machine in an encrypted file. The exported connections can be shared with the required users. The can be done by using the following path.
Cerebrata > Help > Settings > Export Settings > Select the required service connections > Select the required destination to export > Select Export to export the service connections
- Import Service Connections
Users can import the exported service connections in the required machine. This can be done by using the following path.
Cerebrata > Help > Settings > Import Settings > Select the exported service connections file > Select Import to import the service connections
Was this article helpful?